

Hi there, today lets learn something new.
From the previous blogs, I hope you would’ve got some helpful stuff about your server, website and tech knowledge to upkeep your business further.
Today, let’s learn, how to install and configure cPanel/WHM and also what is the use of cPanel in Linux machine.
As you know, Cpanel is the well-known web board that generally utilized as the most loved default control panel for most Linux based hosting organizations; I appreciate your move to install it.
So, here you can learn how to install it with a few steps intact.
Before moving ahead, let's have a glance over the feature that you’re going to experience and the prerequisites you need to have for installing cPanel.
Some of the most important features are:
1. Server Configuration
2. Networking Setup
3. Security Center
4. Service Configuration
5. Backups
6. Manage DNS functions
7. SQL Services
8. WHM plugins
9. Email accounts
10. Website management and more
1. VPS/Dedicated server
2. Root access on the server
3. Standard hostname (FQDN or Fully Qualified Domain Name)
4. Internet on your server.
Before we go to the installation process, you must note these two critical points:
Once you have installed cPanel/WHM, it can’t be removed from your system. You will have to reinstall your operating system to remove it.
cPanel is commercial software and requires a license to work. However, there is a 15-day trial (which is automatically activated once you install cPanel), you can install your software using the trial then purchase the software later.
Step 1: Once you start with installation first we need to install Perl, because Cpanel is written in Perl.
yum install perl -y
Install curl; curl is the auto installer script built to downloads the cPanel installer script,
yum install curl -y
Step 2: Set hostname on your server
Set hostname on your server, the hostname must and should be an FQDN (fully queried domain name).
Ex: server.domain .com
Step 3: Installation
Change the directory to home after that start installation on the home directory
cd /home
Next download the latest installation script on the home directory
curl -o latest -L https://securedownloads.cpanel.net/latest
Now, run the installation script by executing the following command
sh latest
Then installation starts now. It takes 30-50 minutes based on your internet. So just relax at that time
You can visit our website for server management (30 days free trail on cPanel server management)
Click on below link
https://medhahosting.com/server-management/linux-server-support/cpanel-server-support/
Back to process, once installation is complete,
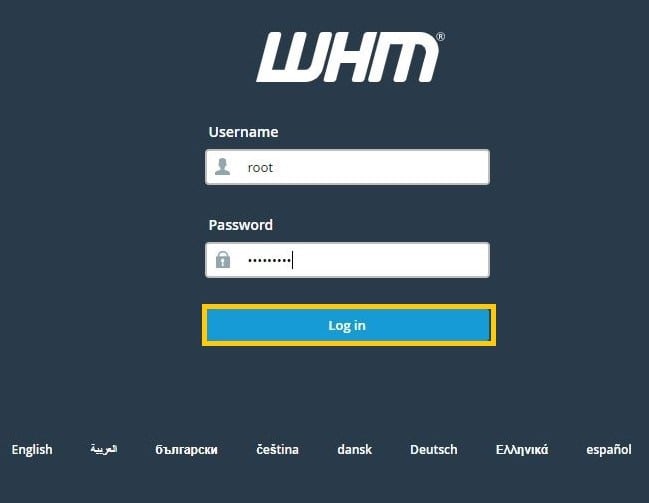
After the successful installation, You can log in into your favorite web browser to WHM by the following URL:
https://server is:2087
Login on your username and password
Username:root(default)
Password: root password
Read and accept the agreement.
Networking:
– Dedicated Server Contact Email Address: Enter your email address. You will receive а cPanel related alert on your email.
– Hostname: If the hostname is fine, leave it as it is.
– Resolvers: Enter 8.8.8.8 in primary and also enter 8.8.4.4 in secondary.
Scroll down to the end of the page and click the “Save & Go to Step 3” button.
If you have a more than one IP and the IPs are not listed, add your new IP address and then click the “Go to Step 4” button. Alternatively, if you do not have any additional IPs, click on “Go to Step 4”.
1. Under “Nameserver Configuration,” you can choose a Nameserver program like Bind, PowerDNS, etc. or leave it as it is.
2. Under “Choose which nameservers domains on this Cheap Dedicated server will use” enter your domain nameserver such as ns1.example.com and ns2.example.com (Replace example.com with your domain name).
If you are feeling confused and it is making you scratch your head more often. Try our cPanel server management free for one month.
3. Under “Configure Address Records for Nameservers & Hostname,” mark the option “Configure Address Records for Nameservers,” enter your IP address in IPv4 for NS1 and NS2, and should you have an IPv6, enter it into the IPv6 field as well.
Tick mark the option “Add “A Entries” for Hostname” and then click on “Save & Go to Step 5”.
You can leave all the options as they are or change them if you want it. Then click on “Save & Go to Step 6”.
Try our cPanel server support free for one month
(Final Step): Tick mark “Use file system quotas” and click the “Finish Setup Wizard” button.
Congratulations! The cPanel Installation is complete.
And now, you need to compile Easy Apache, change settings, install a firewall, etc.
To make it easy a step ahead, you can avail our affordable cPanel server support service.
As one of the top cPanel Certified Partner, and cPanel Server Management Services firm, our Certified cPanel Server Support Administrators help you get the maximum benefits including cPanel Server Administration, troubleshooting, Security, and patching of cPanel Server.
We follow best practices to deploy a stable and secure cPanel Server Environment ( Shared Hosting) infrastructure in all its aspects.
Hope you enjoy the read and enrich your technical knowledge either.
Stay tuned; our next article tells you ‘Server Hardening on cPanel.’
Bye for now..