Step-by-step guide for creating a Security Group in Office 365
Security groups in Office 365 are essential for managing access to resources, setting permissions, and enforcing security policies across your organization. They help streamline administrative tasks by allowing you to manage users in bulk, instead of individually. This guide will walk you through how to create a security group in Office 365.
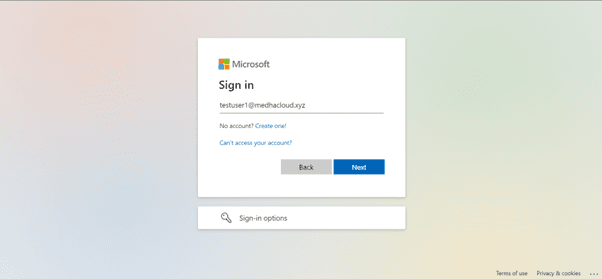
Step 1: Log in to Office 365 with Admin privileges
Start by logging into Office 365 using an admin account. Only administrators have the ability to create and manage security groups.
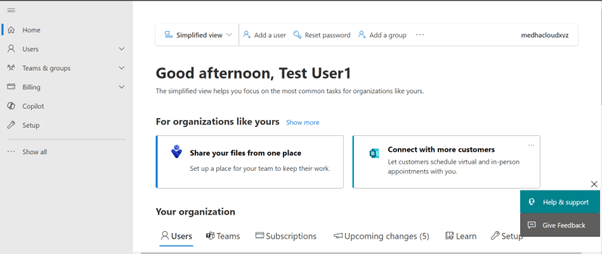
Step 2: Open the Admin panel
Once logged in, access the Admin app from the Office 365 app launcher (the grid icon in the upper left corner). This will take you to the Admin Center, where you can create and manage security groups.
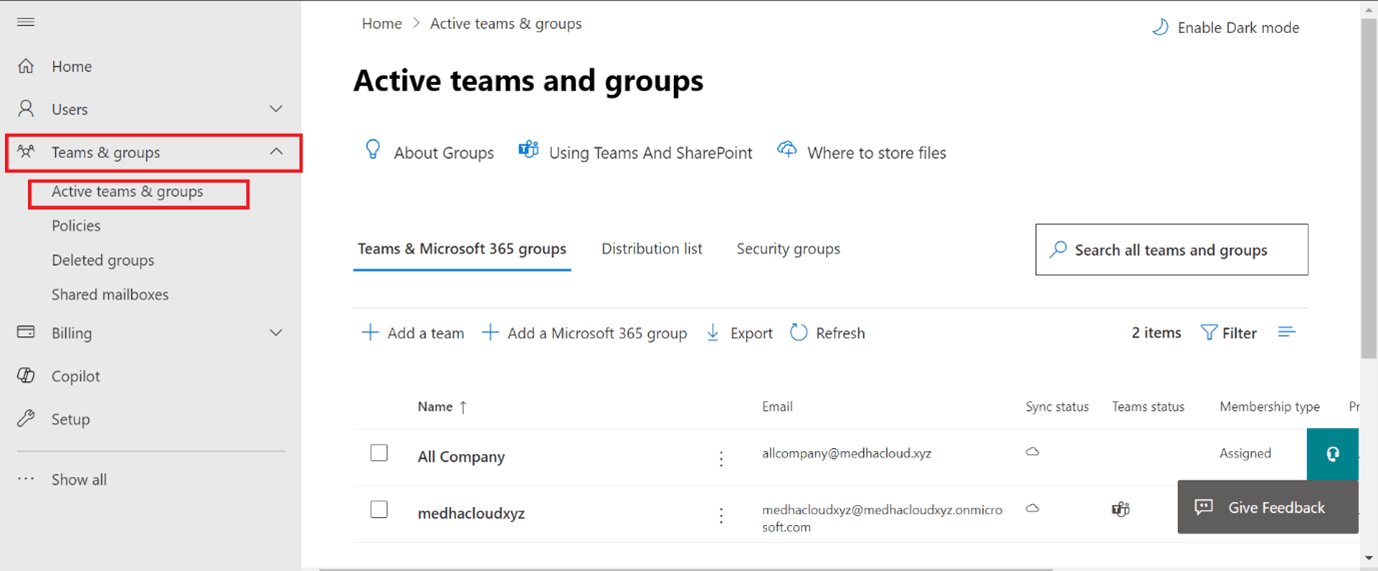
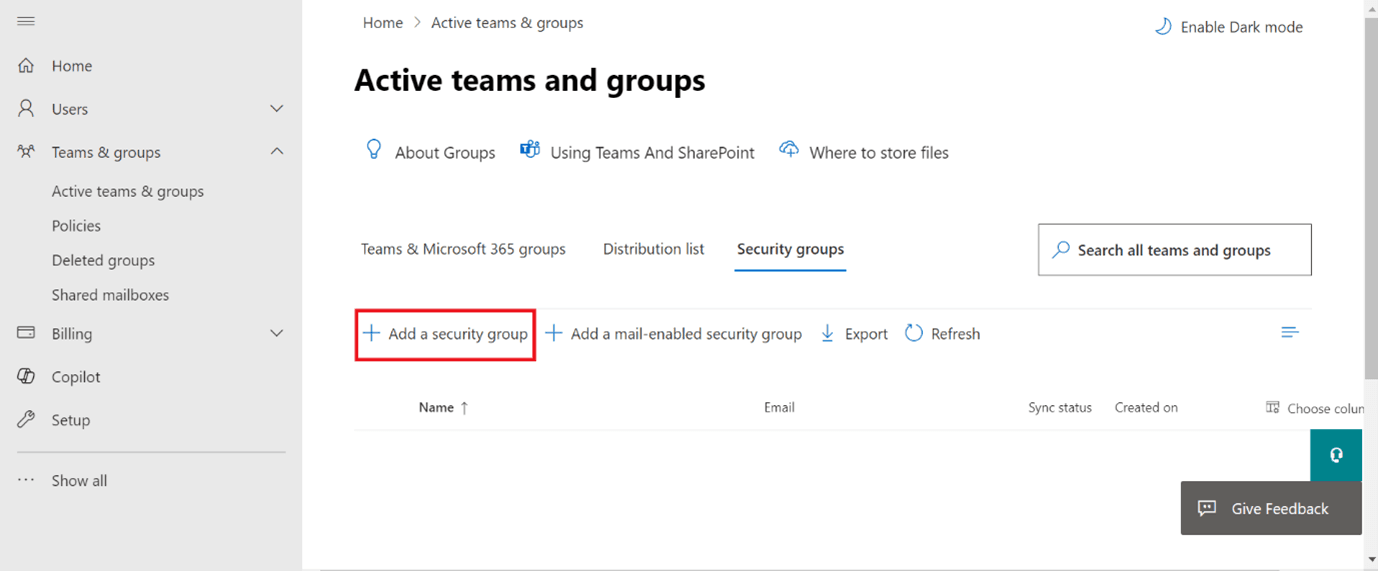
Step 3: Navigate to groups > Active groups
In the Admin Center, click on Groups from the left-hand panel, and then select Active Groups. This will display a list of all existing groups within your organization.
Step 4: Create a New group
To create a new security group, click on the Add a group button at the top of the page.
Step 5: Choose group type – Security
In the Choose a group type section, select Security. Security groups allow you to assign permissions and access levels to a group of users instead of managing individual permissions.
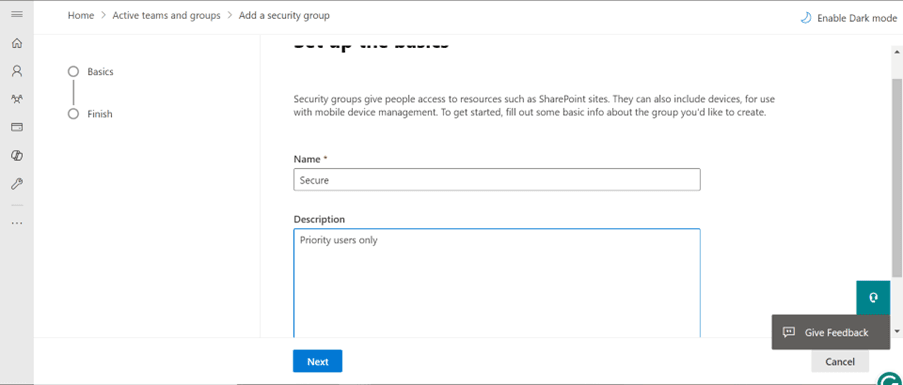
Step 6: Configure group settings
Fill in the following details for your security group:
- Name: Enter a name for the security group (e.g., "IT Department Security Group").
- Description: Provide a brief description of the group’s purpose (e.g., "Security group for IT department access").
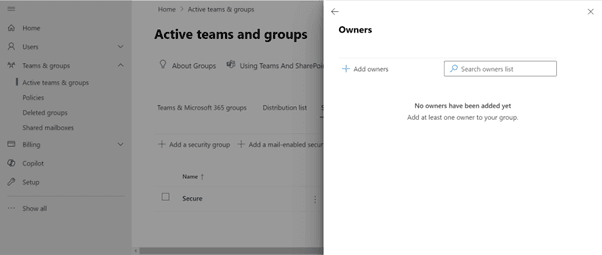
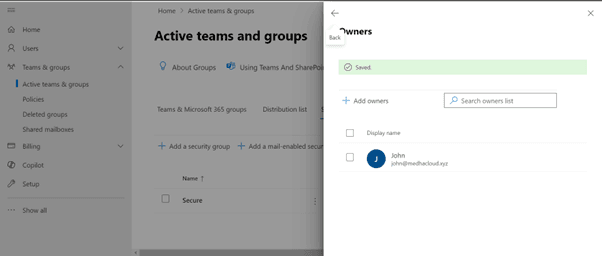
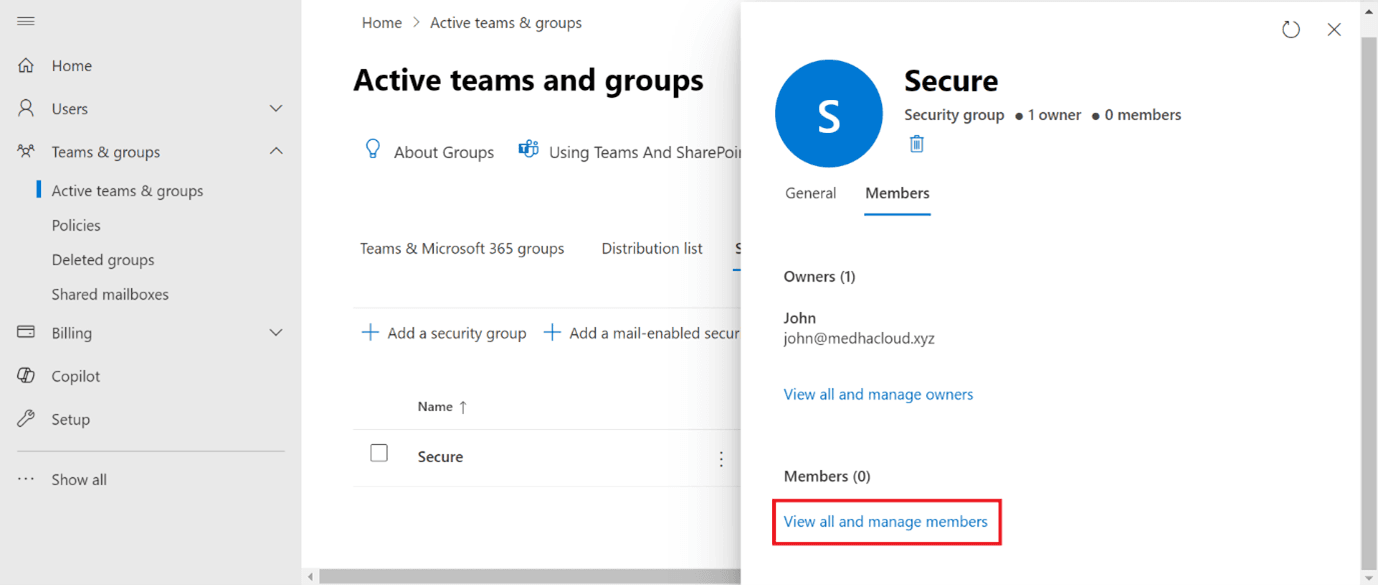
- Owners: Select the admin or owner responsible for managing this group.
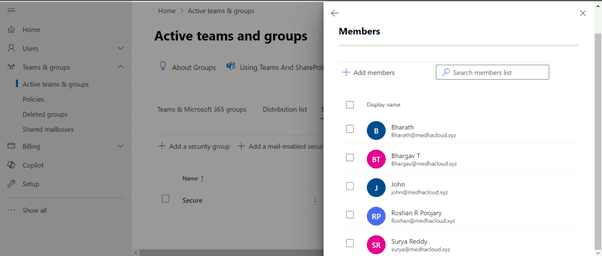
- Members: Add the users you want to include in this security group.
Step 7: Assign permissions and access (optional)
Once your security group is created, you can assign specific permissions and access levels to the group. This can include access to SharePoint sites, specific applications, or administrative controls.
Step 8: Save the group
After configuring the necessary details, click Create to finalize the security group. Your new security group will now appear in the list of active groups.
Step 9: Manage the security group (optional)
You can modify the group’s membership, permissions, or other settings at any time by navigating to the Groups section, selecting the group, and adjusting the settings as needed.
By following these steps, you can easily create and manage security groups in Office 365, helping to streamline access management and enforce security policies across your organization. For more help with managing security groups or other Office 365 features, contact Medha Cloud today. Our team is ready to assist you in securing and optimizing your Office 365 environment.
Topics
Bharath Kumar
Senior Microsoft 365 Consultant • 8+ years
Bharath is a Senior Microsoft 365 Consultant specializing in enterprise productivity solutions and white-label IT services. He has successfully deployed Microsoft 365 for over 200 organizations and helps MSPs build scalable white-label partnerships.