A Complete Guide to Migrating Mailboxes to Microsoft 365 in a Hybrid Deployment

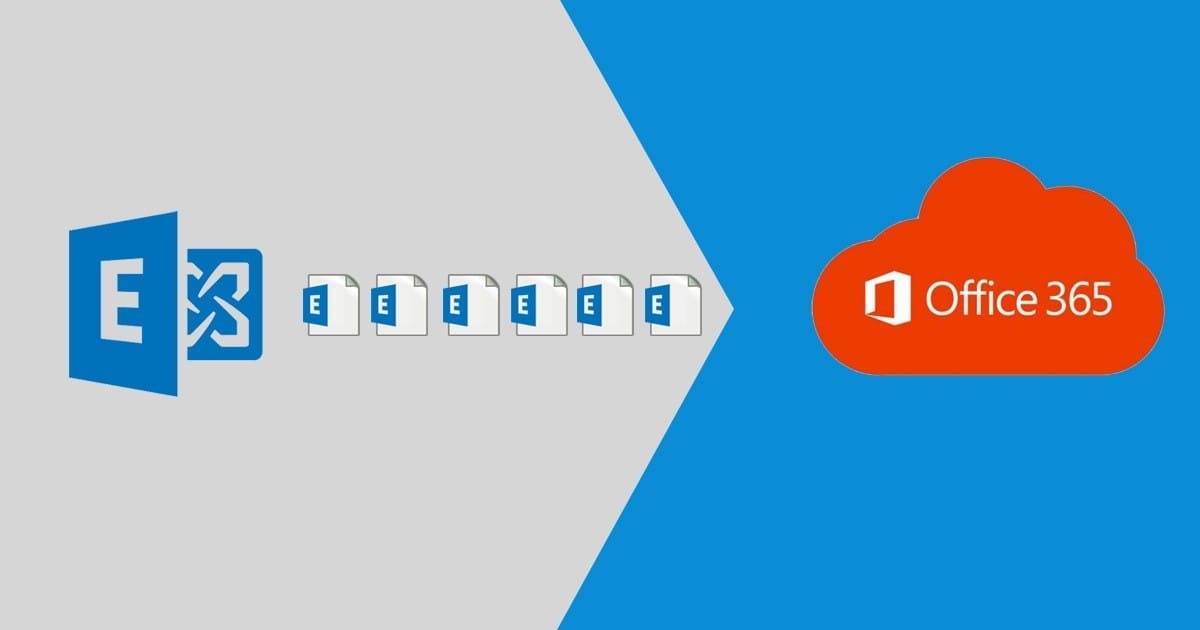
To migrate mailboxes from on-premises Exchange to M365/Exchange Online is a critical step for businesses moving to the cloud. A hybrid deployment facilitates seamless coexistence between on-premises and cloud environments, enabling mailbox migrations with minimal disruption. This article outlines the key steps, prerequisites, and troubleshooting tips to ensure successful mailbox migration.
What Is a Hybrid Deployment?
A hybrid deployment bridges on-premises Exchange and M365, allowing:
- Mailboxes to move between on-premises and cloud environments.
- Retention of a unified email experience for end users.
- Gradual migration over time instead of an all-at-once transition.
Hybrid deployments support remote mailbox move requests through the Mailbox Replication Service (MRS) and its proxy, MRSProxy. These setups are ideal for long-term coexistence scenarios.
Prerequisites for Mailbox Migration
Before starting a mailbox migration, ensure the following:
Technical Requirements
1. Hybrid Deployment Configuration:
- Verify that your hybrid deployment is configured correctly. Refer to Microsoft’s Hybrid Deployment Prerequisites for details.
2. Mailbox Replication Service Proxy (MRSProxy):
- Ensure the MRSProxy service is enabled on the on-premises Exchange Client Access servers.
3. Unified Messaging (UM) Mailboxes:
- Confirm that on-premises Skype for Business and Exchange Online meet UM requirements.
4. Licensing:
- Assign Office 365 licenses only after the migration completes. You have 30 days to assign licenses post-migration.
Permissions
- Assign the required administrative permissions to execute mailbox migrations. Review the "Mailbox Move and Migration Permissions" section in the Exchange documentation.
Step-by-Step Process for Migrating Mailboxes
Follow these steps to ensure a smooth migration:
1. Enable the MRSProxy Service
The MRSProxy service enables remote move migrations. If not enabled, follow these steps:
1. Open the Exchange Management Shell.
2. Run the following command to enable MRSProxy:
Set-WebServicesVirtualDirectory -Identity "Server\EWS (Default Web Site)" -MRSProxyEnabled $true
3. Verify the service status:
Get-WebServicesVirtualDirectory | Format-ListIdentity,MRSProxyEnabled
2. Create a Migration Endpoint
A migration endpoint establishes the connection between on-premises and Office 365 environments.
- Navigate to Recipients > Migration > More > Migration Endpoints in the Exchange Admin Center (EAC).
- Click New and provide the required details for your on-premises Exchange server.
- Test the endpoint to confirm connectivity.
3. Configure the Migration Batch
Use the EAC or PowerShell to create and configure a migration batch:
- Using EAC:
- Go to Recipients > Migration > Add > Move to Exchange Online.
- Select the mailboxes to include in the batch.
- Specify batch options, such as notifications and scheduling.
- Using PowerShell:
New-MoveRequest -Identity <UserEmail> -RemoteTargetDatabase <DatabaseName> -TargetDeliveryDomain <Domain>
4. Monitor Migration Progress
Track the migration status using the EAC or PowerShell:
- EAC:
- View the migration dashboard for real-time updates.
- PowerShell:
Get-MigrationBatch | Format-List Get-MigrationUserStatistics -Identity <UserEmail>
5. Remove Completed Batches
After migrations are complete, remove completed batches to prevent errors during future migrations:
- EAC:
- Select the completed batch and click Delete.
- PowerShell:
Remove-MigrationBatch -Identity <BatchName>
Common Issues and Resolutions
1. Migration Endpoint Errors
- Cause: Incorrect configuration or connectivity issues.
- Solution:
- Verify the migration endpoint settings.
- Use the Microsoft Remote Connectivity Analyzer to test connections.
2. Stuck Migration Batches
- Cause: Network disruptions or large mailbox sizes.
- Solution:
- Restart the batch:
Start-MigrationBatch -Identity <BatchName>
3. Missing Mailbox Data
- Cause: Incomplete synchronization.
- Solution:
- Trigger a delta sync manually:
Sync-MigrationBatch -Identity <BatchName>
4. Permissions Errors
- Cause: Inadequate permissions assigned to the migration account.
- Solution:
- Review and assign the necessary permissions.
Best Practices for Mailbox Migration
- Pre-Migration Checks: Verify all prerequisites before initiating migrations.
- Staggered Batches: Migrate mailboxes in smaller batches to reduce errors.
- User Communication: Notify users about the migration schedule and any potential impact.
- Post-Migration Validation: Confirm mailbox data integrity before marking migrations as complete.
Key PowerShell Commands for Migration Management
| Command | Description |
|---|---|
Set-WebServicesVirtualDirectory | Enable MRSProxy service. |
New-MoveRequest | Create a new migration request. |
Get-MigrationBatch | Check the status of a migration batch. |
Sync-MigrationBatch | Perform a delta sync for a migration batch. |
Remove-MigrationBatch | Delete a completed migration batch. |
Conclusion
To Migrate mailboxes in a hybrid deployment requires meticulous planning and execution. By following the steps outlined in this guide, administrators can ensure a seamless migration with minimal disruptions. Addressing common issues proactively and adhering to best practices will further streamline the process.
Need help with mailbox migrations or configuring a hybrid deployment? Contact Medha Cloud today for expert guidance and support tailored to your business needs.
Reach us at:
- India: +91 93536 44646
- US: +1 646 775 2855
- Website: medhacloud.com
- Email: [email protected]
Let our certified engineers handle your Exchange migration with zero data loss and minimal downtime.
Exchange Server Migration ServicesSreenivasa Reddy G
Founder & CEO • 15+ years
Sreenivasa Reddy is the Founder and CEO of Medha Cloud, recognized as "Startup of the Year 2024" by The CEO Magazine. With over 15 years of experience in cloud infrastructure and IT services, he leads the company's vision to deliver enterprise-grade cloud solutions to businesses worldwide.
More in Microsoft 365
View all
Microsoft 365 Migration Checklist — 27 Steps Before, During & After (2026)
11 min read
How Much Does Exchange to Microsoft 365 Migration Cost? (2026 Guide)
9 min read
Microsoft 365 Statistics 2026: Market Share, Adoption & Pricing Data
14 min read
Microsoft 365 Cost Optimization: How to Cut Your Licensing Spend by 30% Without Losing Features
22 min read
Microsoft 365 Security Checklist: 100 Settings Every IT Administrator Must Review
20 min read
Microsoft 365 Security Hardening Guide: 50 Critical Settings Every Business Should Enable
25 min read