In today’s digital landscape, controlling email communication is vital for maintaining security, compliance, and productivity within an organization. Blocking specific users from sending emails can help mitigate risks associated with data leaks, spam, or other malicious activities. This guide will walk you through the steps to block users from sending emails in Microsoft 365, ensuring you can maintain a secure and compliant email environment.
Blocking users from sending emails may be necessary for several reasons:
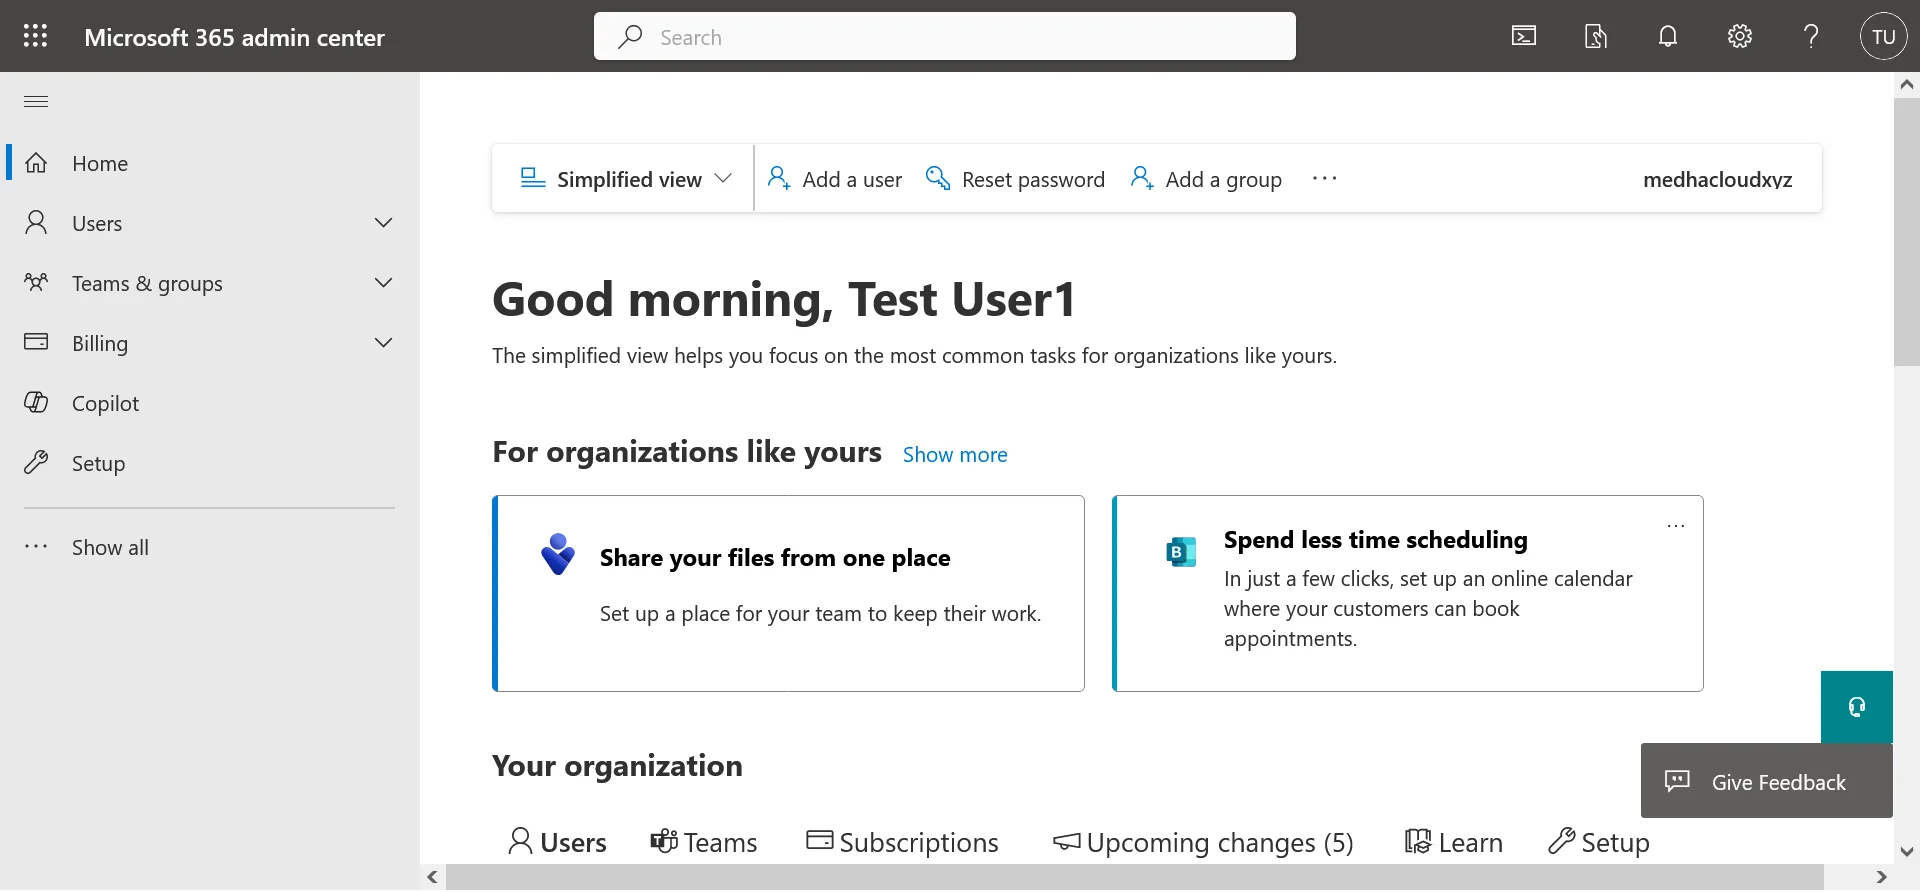
Start by logging in to the Microsoft 365 Admin Center using your admin credentials. Only users with the appropriate administrative privileges can modify email settings.


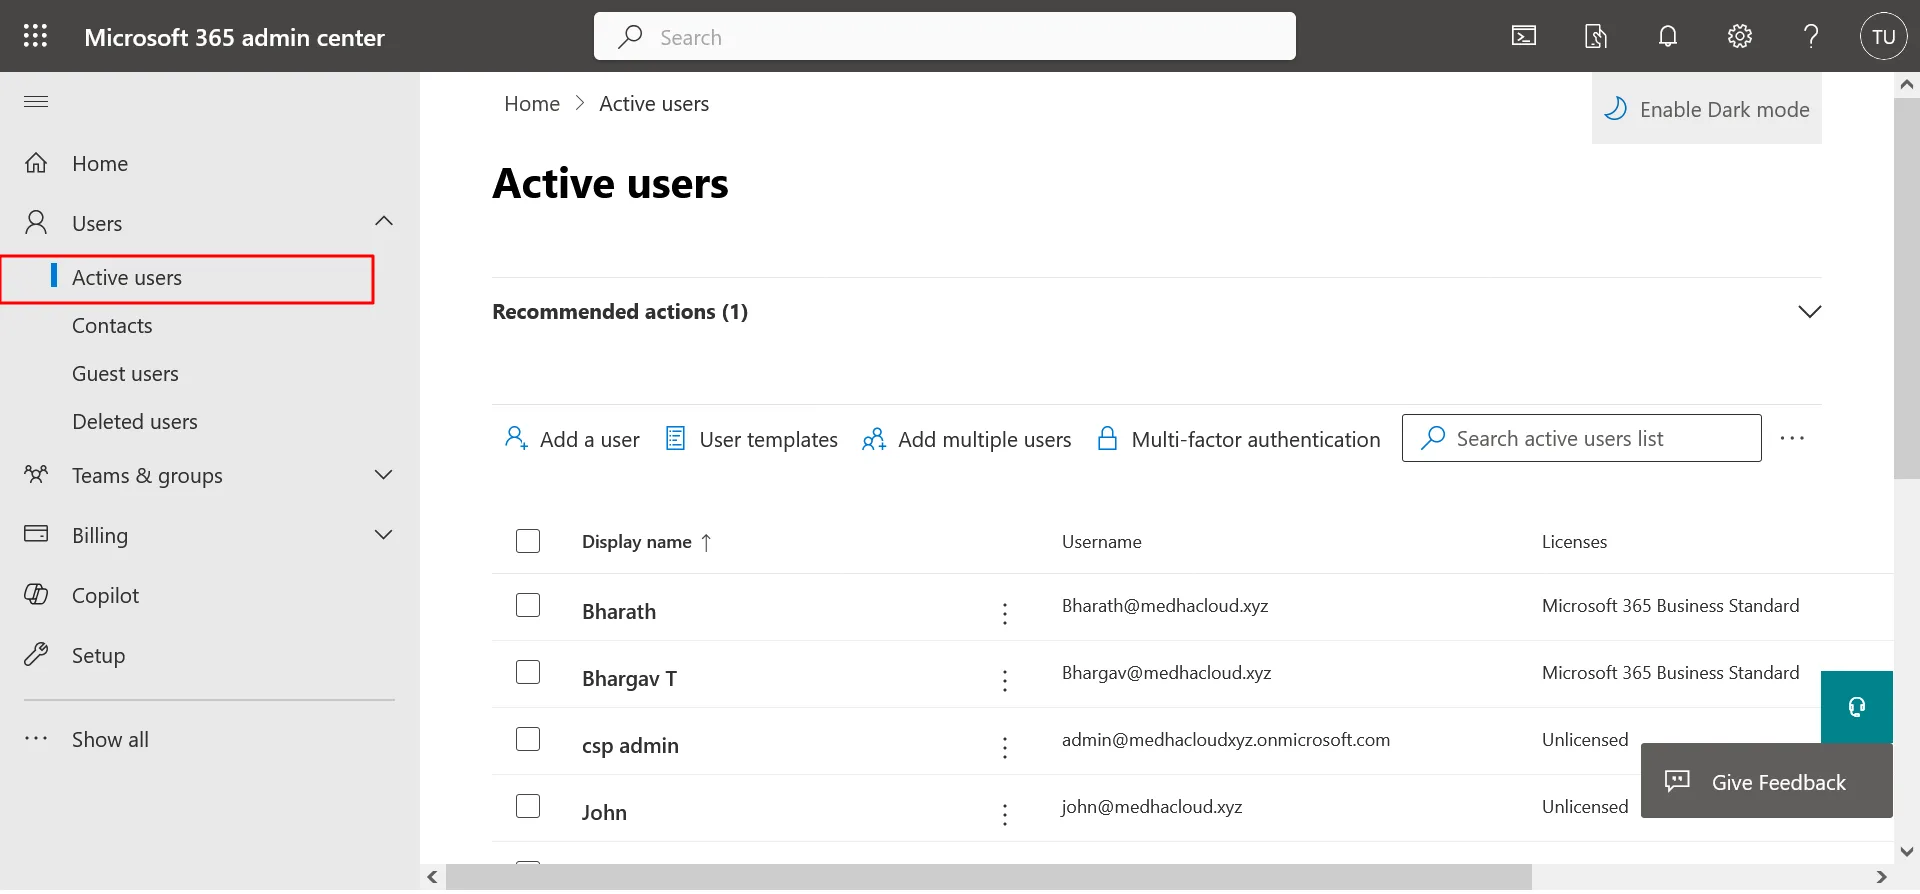
Once logged in, click on Users in the left-hand navigation pane, then select Active users. This will display a list of all users in your organization.

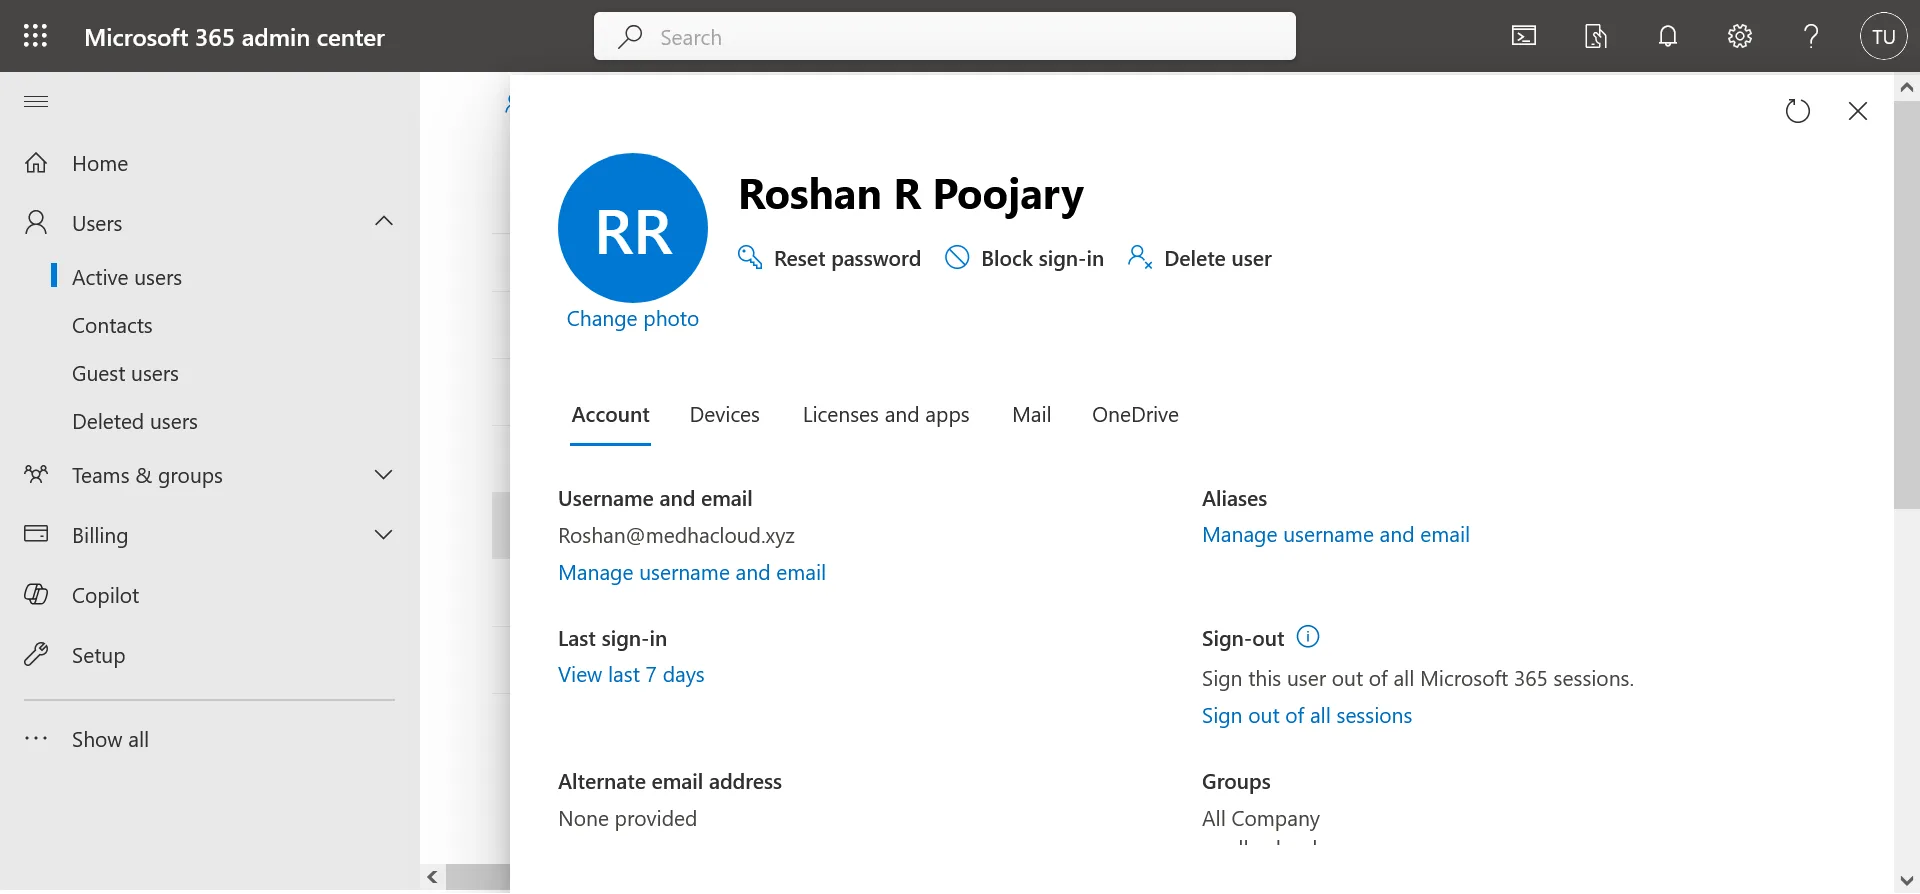
From the list of active users, find and select the user you want to block from sending emails. Click on their name to open their account details.

In the user details pane, click on Mail settings. Here, you can manage the user’s email preferences, including permissions.
Look for the option labeled E-mail apps or Mail settings (the exact naming may vary). Depending on your organization’s setup, you may see an option to restrict sending emails. Toggle this option to block the user from sending emails.
After making the necessary adjustments, ensure you click Save changes to apply the new settings.
It’s essential to communicate with the user regarding this change. Send them a notification explaining that their ability to send emails has been restricted and the reasons behind this decision.
Regularly monitor the user’s account and communications to ensure compliance with your organization’s policies. This will also help you assess whether the restriction needs to be lifted or adjusted in the future.
Blocking users from sending emails is a critical step in protecting your organization from potential security threats and ensuring compliance with internal policies. By following these steps, administrators can manage user permissions effectively and maintain a secure email environment.
For further assistance or to explore more advanced email management features, feel free to reach out to Medha Cloud. Our expert team is ready to help you enhance your email security and overall IT management.

