Step-by-step guide to deleting or suspending user accounts in Office 365
There may come a time when you need to delete or suspend a user account in Office 365, either due to an employee leaving the organization or for temporary access suspension. Suspending an account preserves the user’s data, while deleting an account permanently removes it. This guide will walk you through both processes.
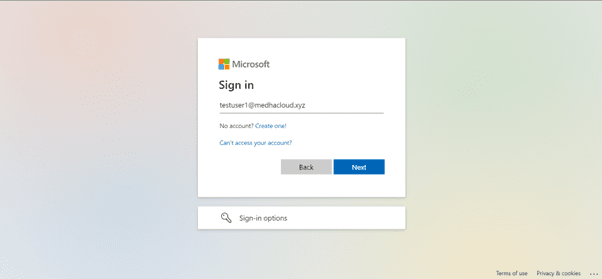
Step 1: Log in to Office 365 with Admin privileges
Start by logging into Office 365 using an admin account. Only users with administrative privileges can enable and configure MFA for other users.
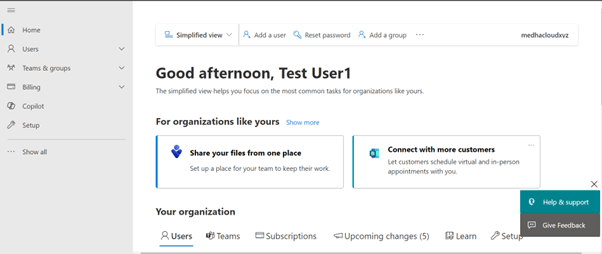
Step 2: Open the Admin panel
Once logged in, access the Admin app from the Office 365 app launcher (the grid icon in the upper left corner). This will take you to the Office 365 Admin Center where you can manage security settings.
Step 3: Navigate to users > Active users
In the Admin Center, go to the Users section, and select Active users. This will display a list of all the active users in your organization.
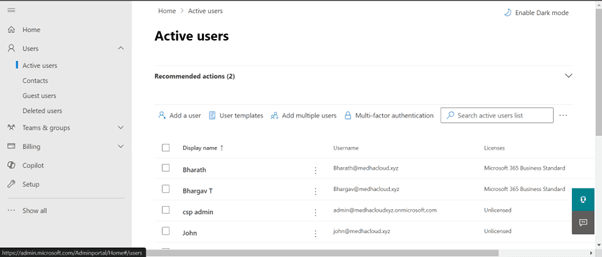
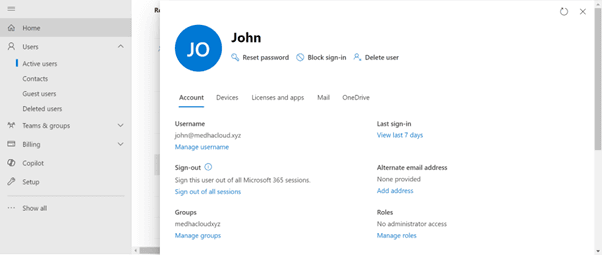
Step 4: Select the user to delete or suspend
From the list of active users, click on the name of the user whose account you want to delete or suspend. This will open their account details.
Step 5: To suspend a user (Block sign-in)
If you want to temporarily suspend the user’s access without deleting their account, click on Block sign-in in the user’s account settings. This action will prevent the user from signing into Office 365, but their data and account will remain intact.
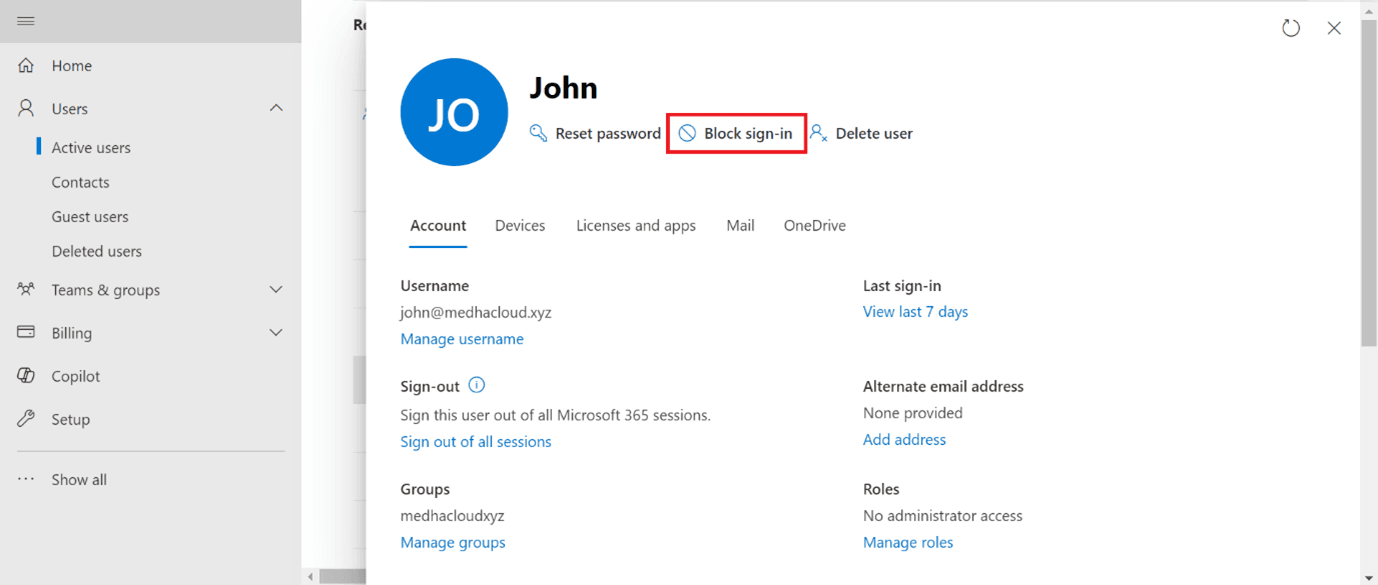
Save Changes: After selecting Block sign-in, click the Save button to apply the suspension.
Step 6: To delete a user
If you want to permanently delete the user’s account, click on the Delete user option found in the user’s account settings.

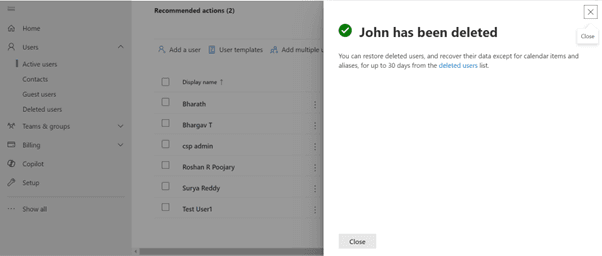
Confirm Deletion: A confirmation prompt will appear. Confirm that you want to delete the account, and click Delete. This will permanently remove the user’s account and data after 30 days (within this window, the account can be restored if necessary).
Step 7: Assign data to another user (optional)
If the user being deleted was the owner of any documents, emails, or other Office 365 data, you can choose to transfer ownership to another user before deletion. This ensures important files are not lost.
Step 8: Verify the action
To confirm that the account has been suspended or deleted, return to the Active Users section. You should see the user’s status updated to reflect the change.
By following these steps, you can effectively manage user accounts in Office 365, ensuring that access is controlled and data is handled properly.
For more help with managing Office 365 accounts or other IT support needs, contact Medha Cloud today. Our experts are here to help you manage your Office 365 environment securely and efficiently.
Compare Microsoft 365 plans and find the right license for your organization.
Compare Microsoft 365 LicensesTopics
Bharath Kumar
Senior Microsoft 365 Consultant • 8+ years
Bharath is a Senior Microsoft 365 Consultant specializing in enterprise productivity solutions and white-label IT services. He has successfully deployed Microsoft 365 for over 200 organizations and helps MSPs build scalable white-label partnerships.
More in Microsoft 365
View all
Microsoft 365 Migration Checklist — 27 Steps Before, During & After (2026)
11 min read

How Much Does Exchange to Microsoft 365 Migration Cost? (2026 Guide)
9 min read

Microsoft 365 Statistics 2026: Market Share, Adoption & Pricing Data
14 min read
Microsoft 365 Cost Optimization: How to Cut Your Licensing Spend by 30% Without Losing Features
22 min read

Microsoft 365 Security Checklist: 100 Settings Every IT Administrator Must Review
20 min read

Microsoft 365 Security Hardening Guide: 50 Critical Settings Every Business Should Enable
25 min read