Microsoft Azure offers unparalleled opportunities to innovate, scale, and grow using its Azure services cloud services, including various Azure subscription options and IoT services. And the best part? You can start your Azure journey without any upfront costs by leveraging free Azure credits, especially for new customers. Whether you’re a new user, a student, a startup founder, or an educator, there’s a program tailored for you.
Here are the six main ways to claim Azure free account :
Each of these programs offers unique benefits and caters to specific groups. In this guide, we’ll walk you through the exact steps to claim these credits and show you how Medha Cloud can assist you in navigating these processes with ease.
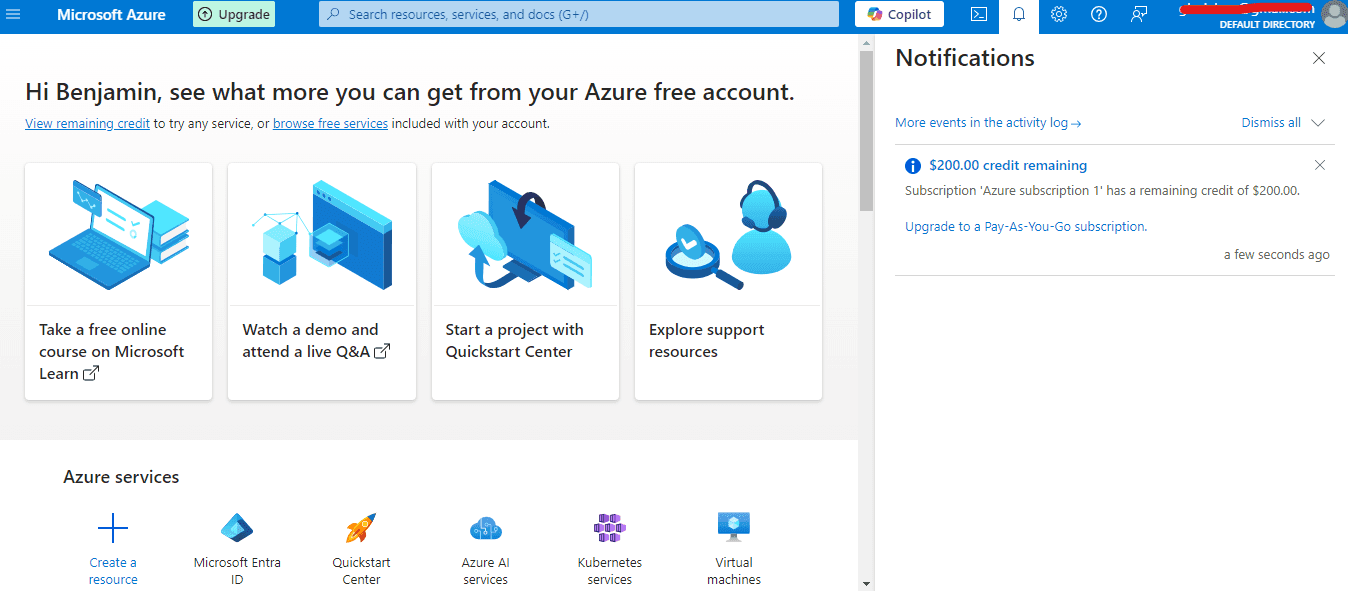
Azure’s Free Trial is the ideal entry point for first-time users. It offers $200 in credits for 30 days and provides access to popular services like virtual machines, databases, and storage, as well as free services with monthly amounts for 12 months.

Azure’s Free Trial is the ideal entry point for first-time users. It offers $200 in credits for 30 days and provides access to popular services like virtual machines, databases, and storage, as well as free monthly amounts for 12 months, using a single credit card.
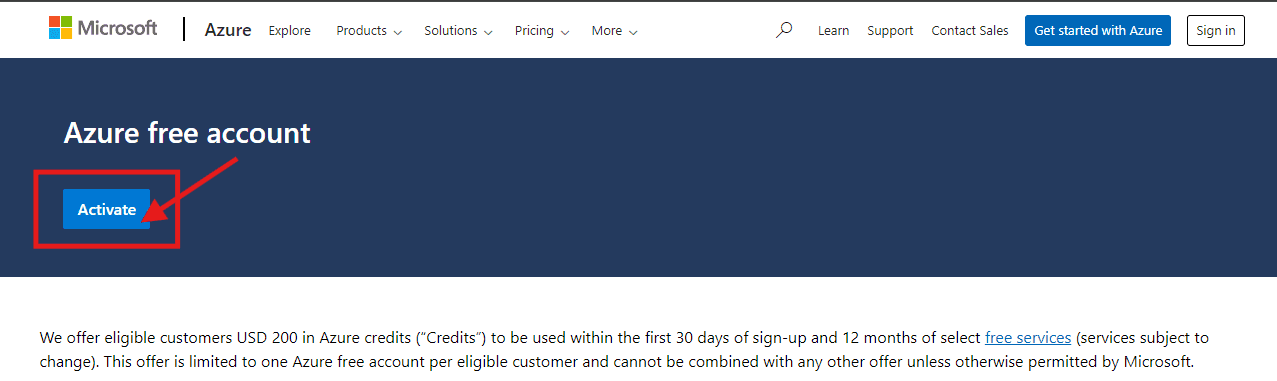
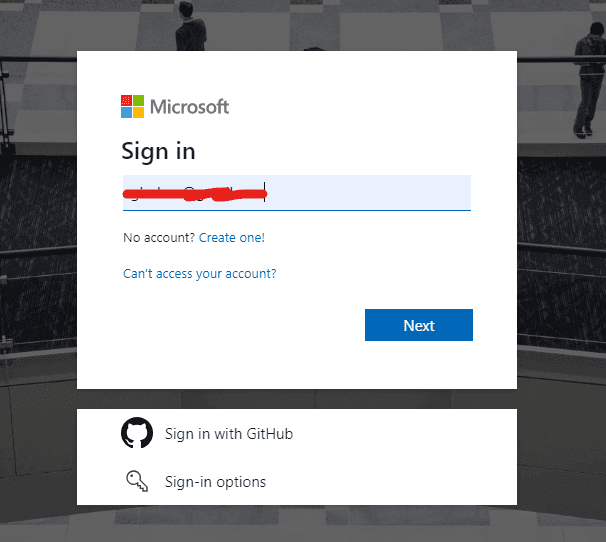
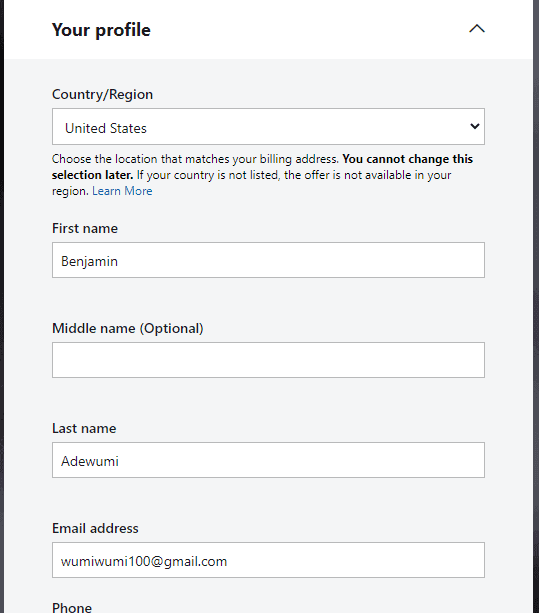
Steps to Claim Your Credits:
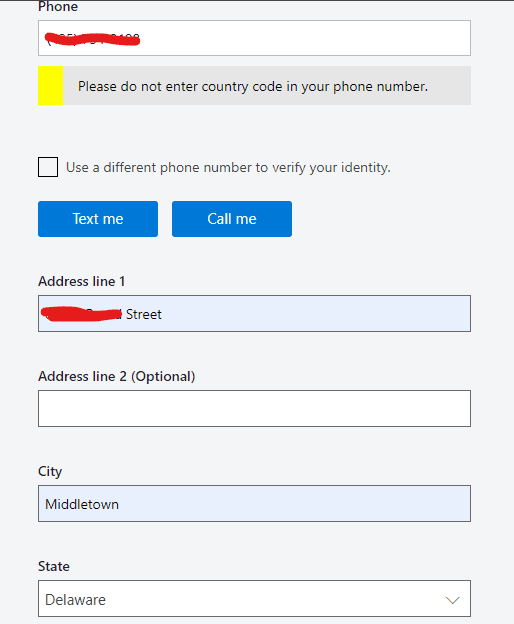
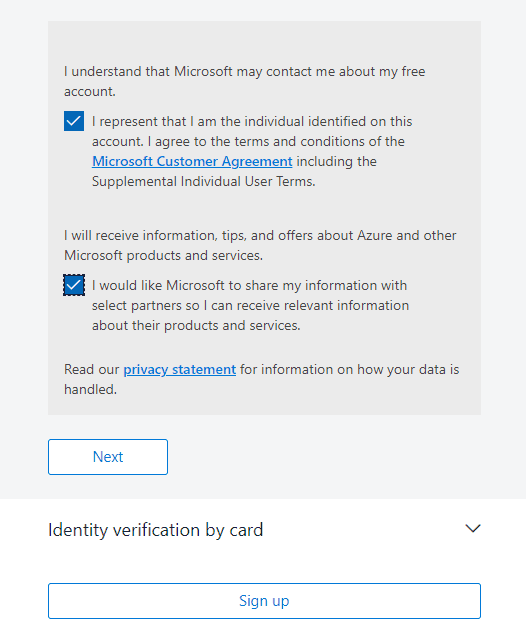
How Medha Cloud Can Help:
The verification process can sometimes be tricky. Medha Cloud provides end-to-end guidance to help you set up your Azure portal account and make the most of your free azure credits.
If you’re a student, Azure offers $100 in free Azure credits valid for 12 months, enabling you to explore Azure’s features and develop your skills without needing a credit card or debit card.
If you’re a student, Azure offers $100 in free Azure credits valid for 12 months, enabling you to explore Azure’s features and develop your skills without needing a credit card or debit card.
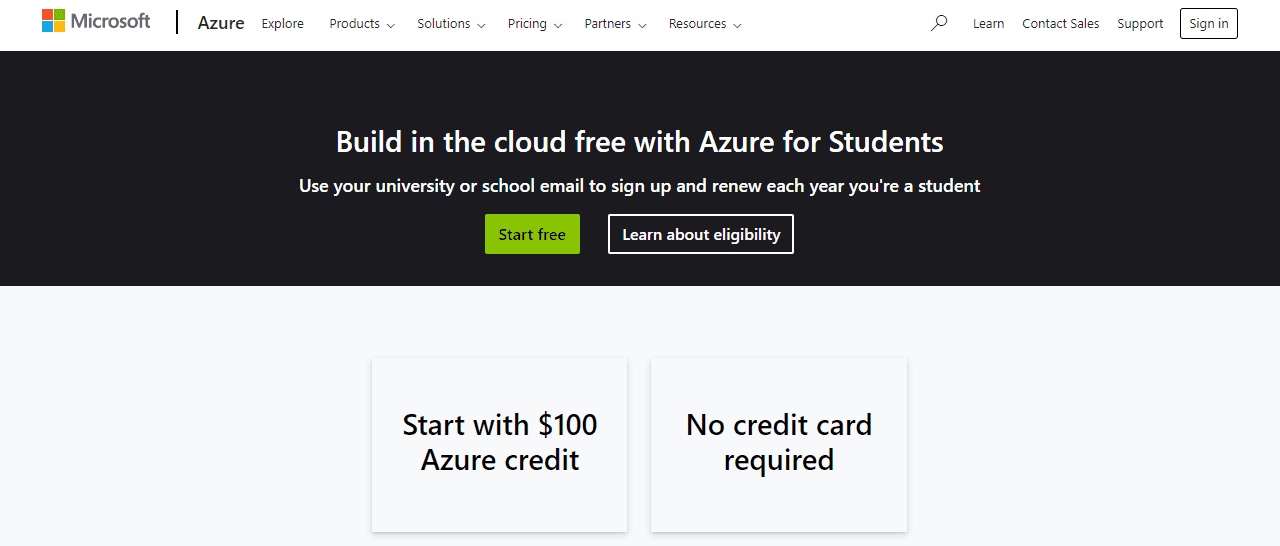
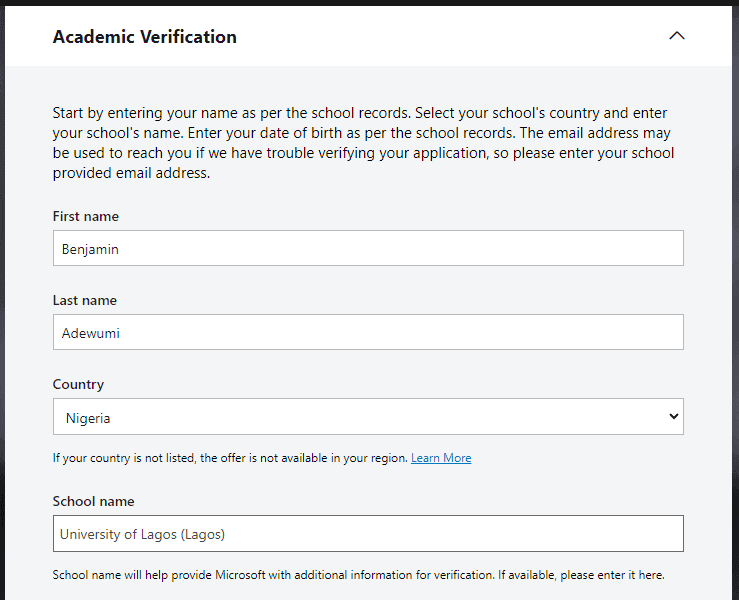
activate your subscription and begin exploring Azure’s tools.
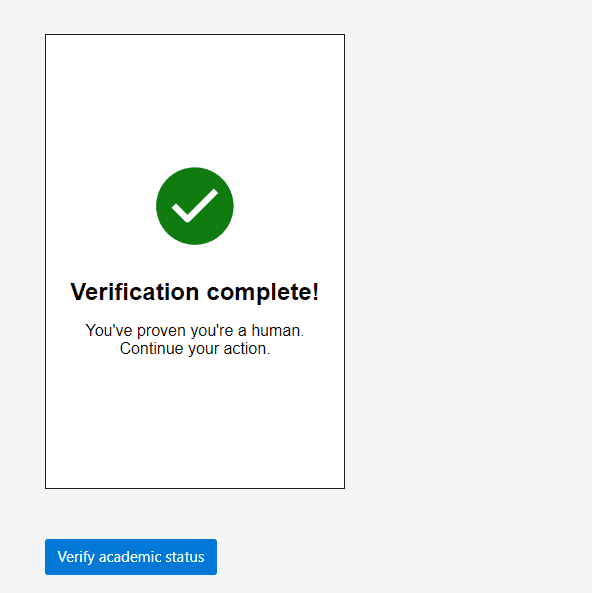
Medha Cloud simplifies the verification process and ensures students unlock free Azure credits hassle-free. We also provide advice on using Azure effectively for learning and experimentation, especially in building and deploying web apps.

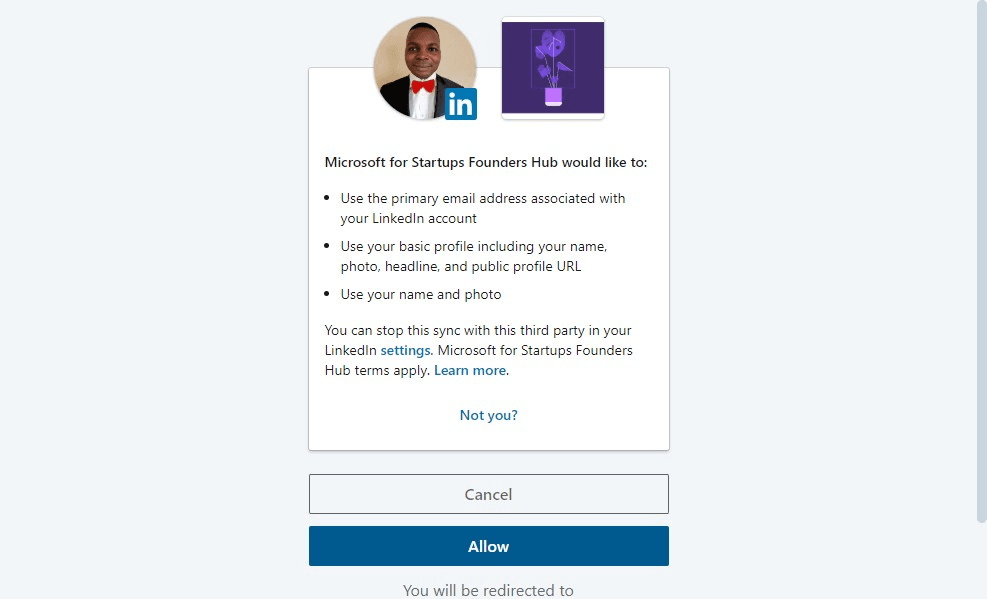
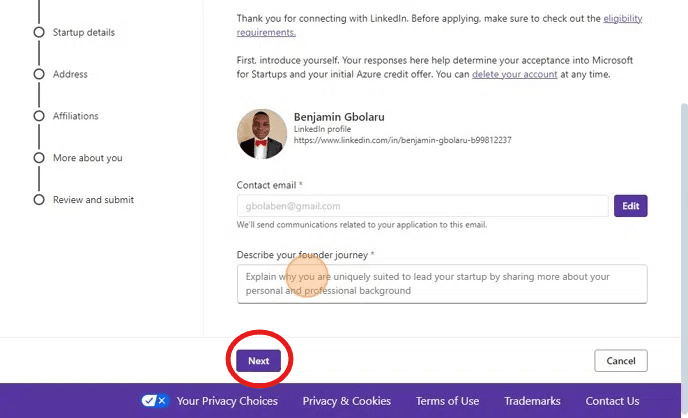
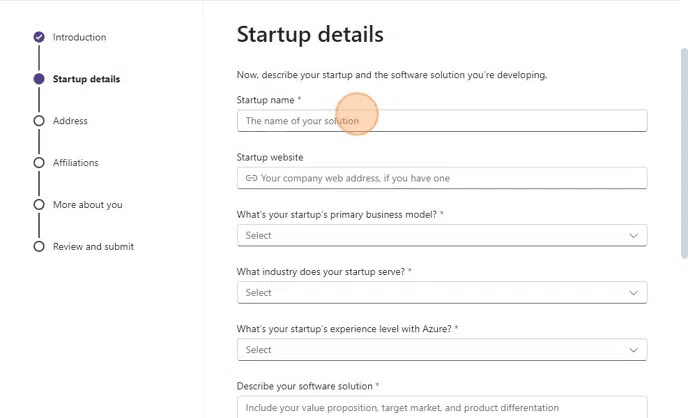
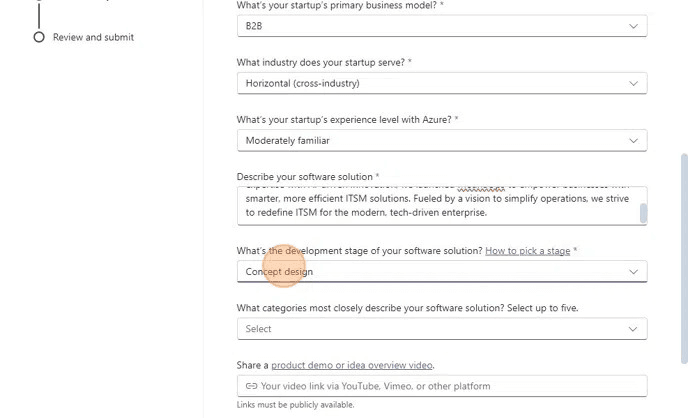
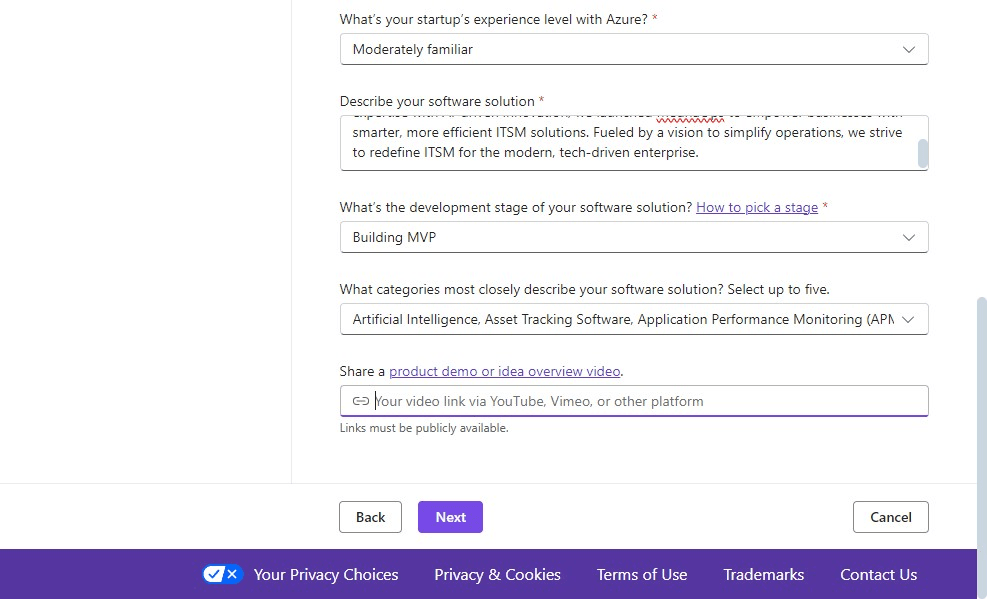
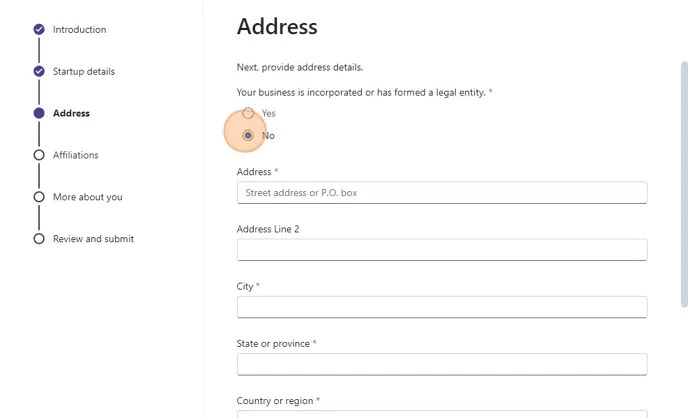
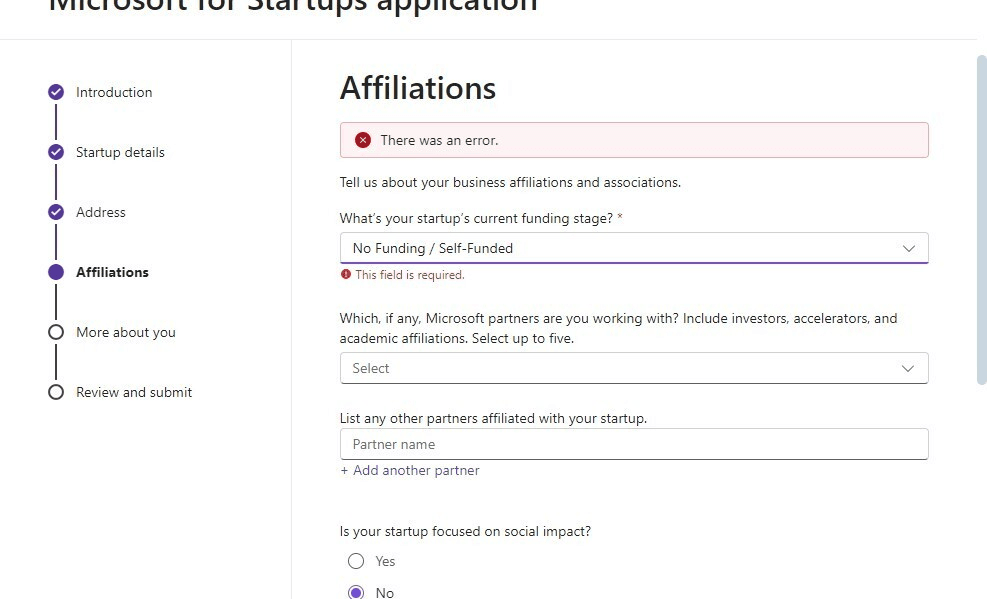
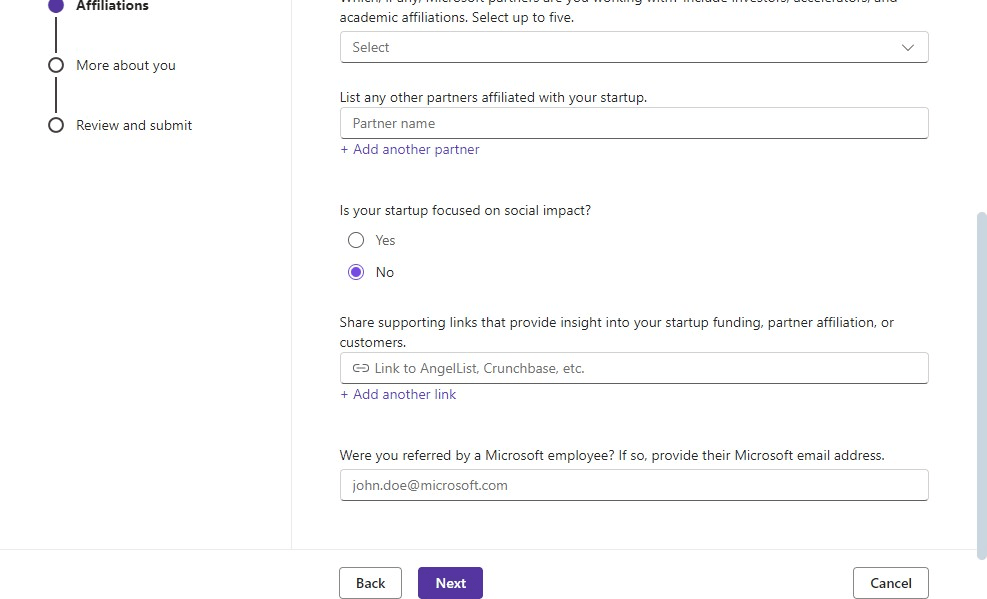
Azure’s startup program is designed to empower entrepreneurs and startups with up to $150,000 in free Azure credits, along with mentorship and business development resources.
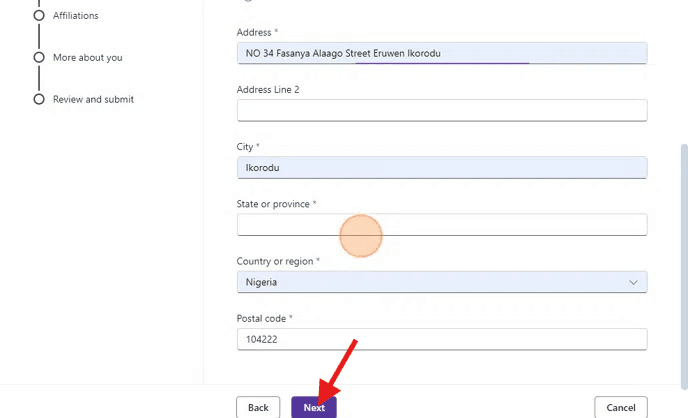
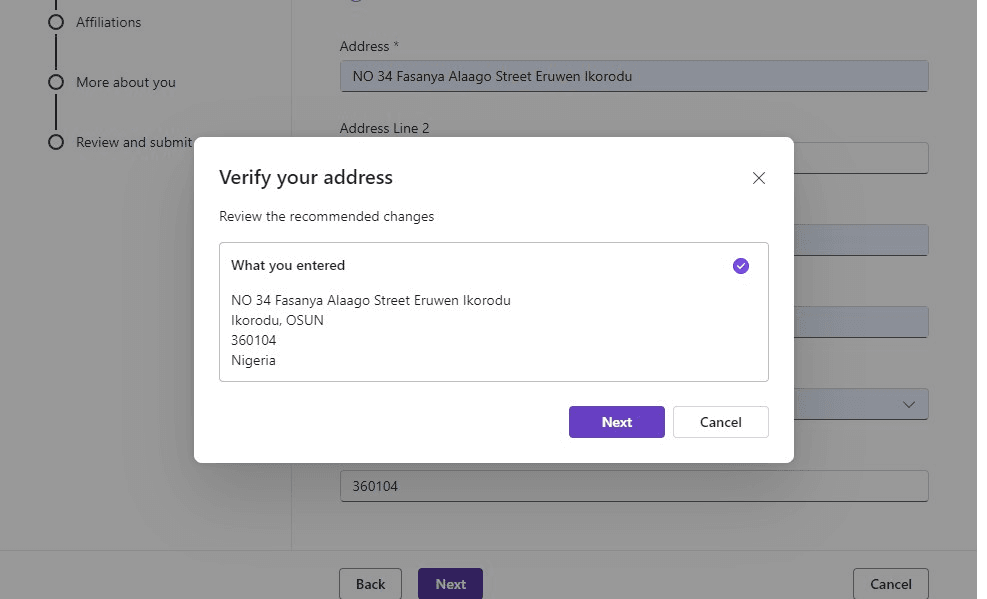
Steps to Apply:


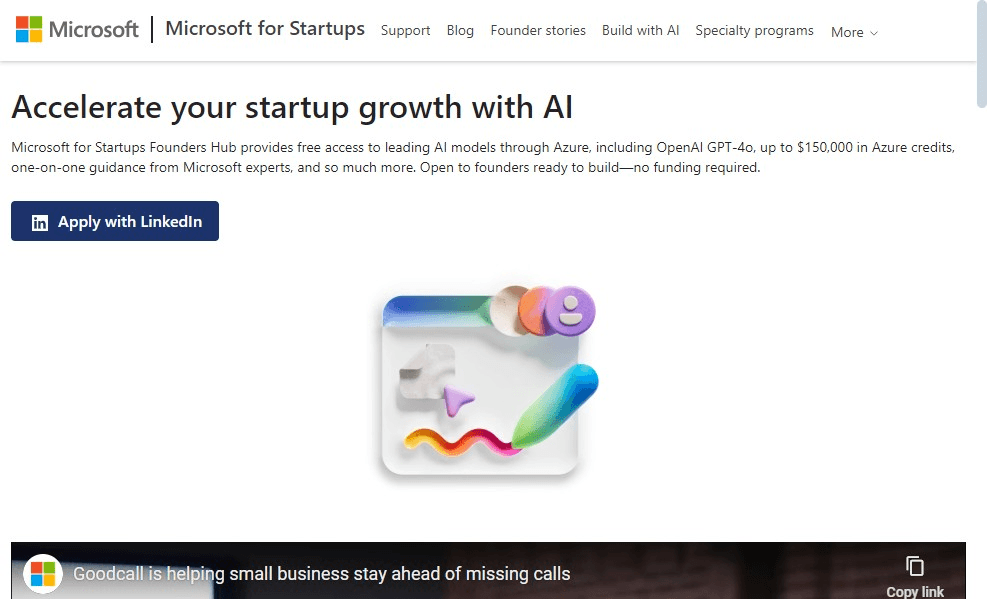
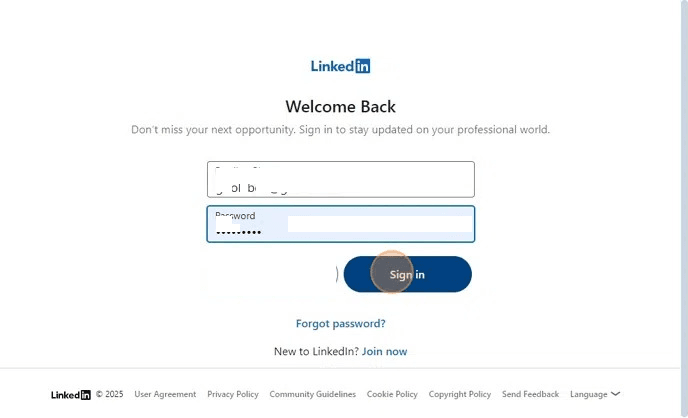

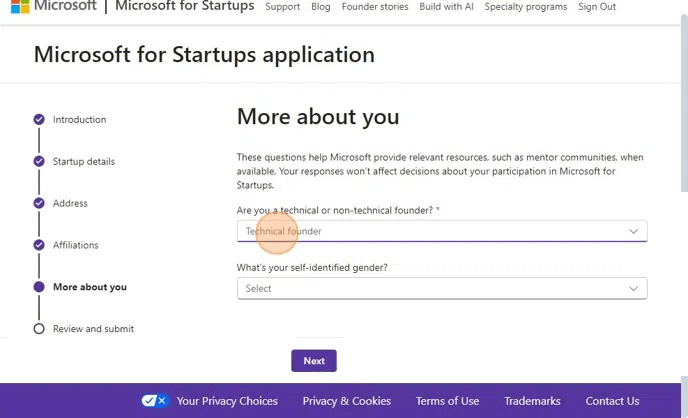
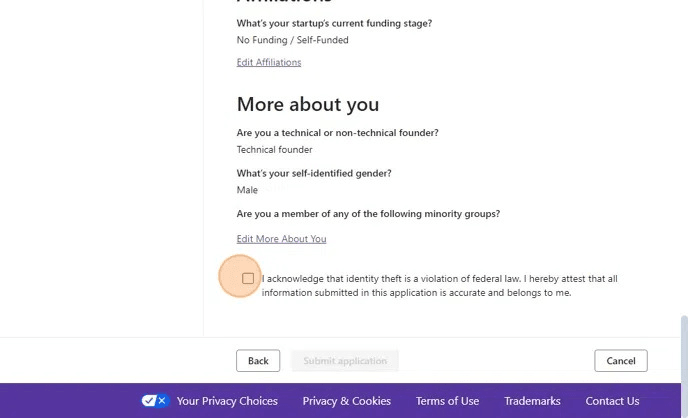
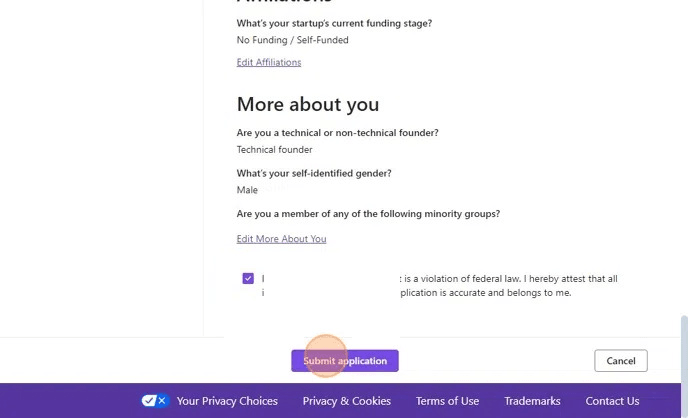
Navigating eligibility criteria and crafting a strong application can be daunting. Medha Cloud offers personalized consulting to help startups access Azure credits and use them effectively to grow their businesses.

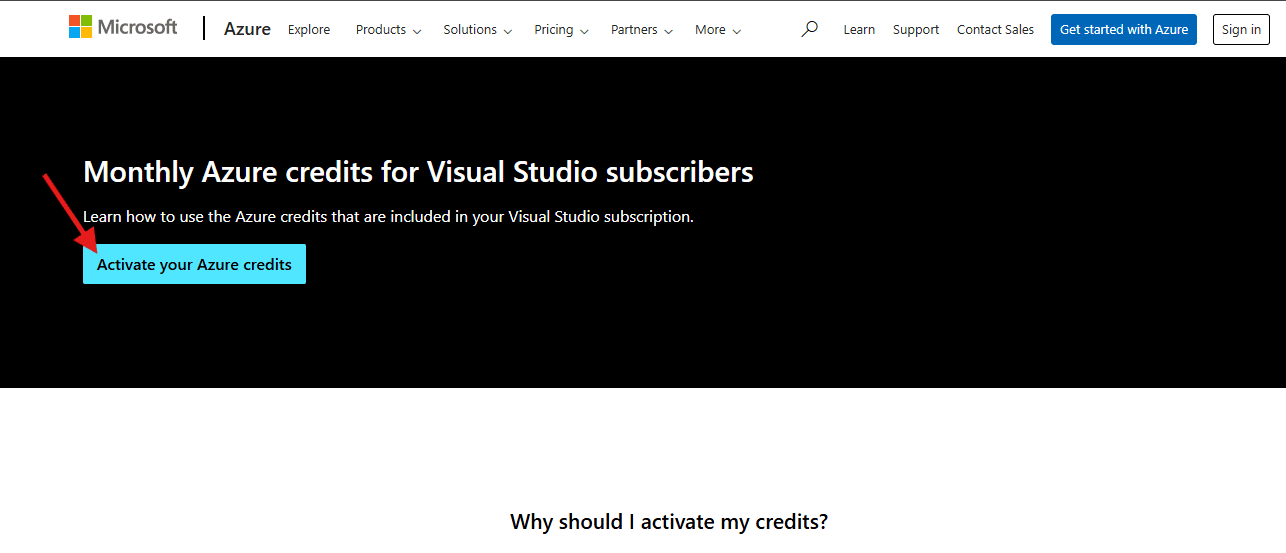
Visual Studio subscribers are eligible for monthly Azure credits ranging from $50 to $150, depending on their subscription level. These credits are ideal for developers working on apps, testing, or API projects.
Steps to Redeem Your Credits:
1. Purchase a Visual Studio subscription.
2. Access the Visual Studio subscriber portal.
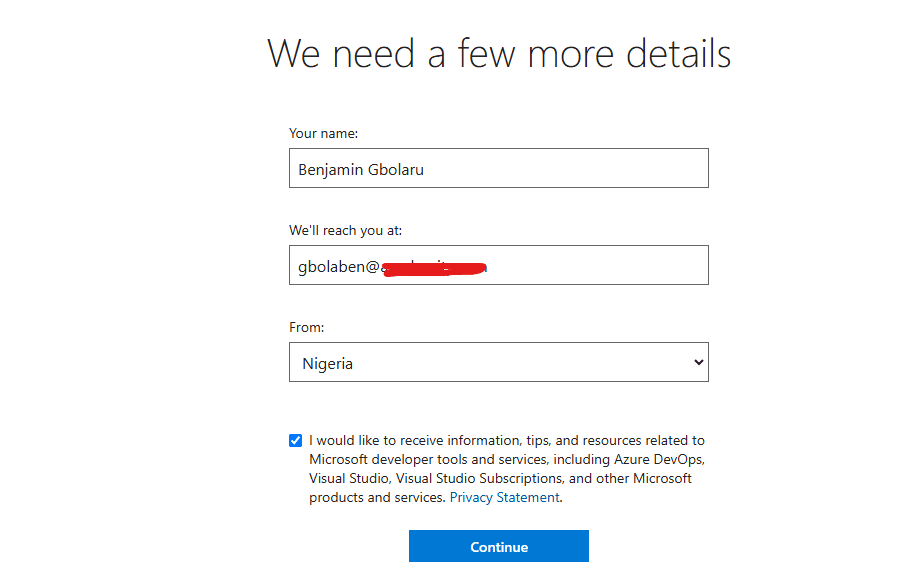
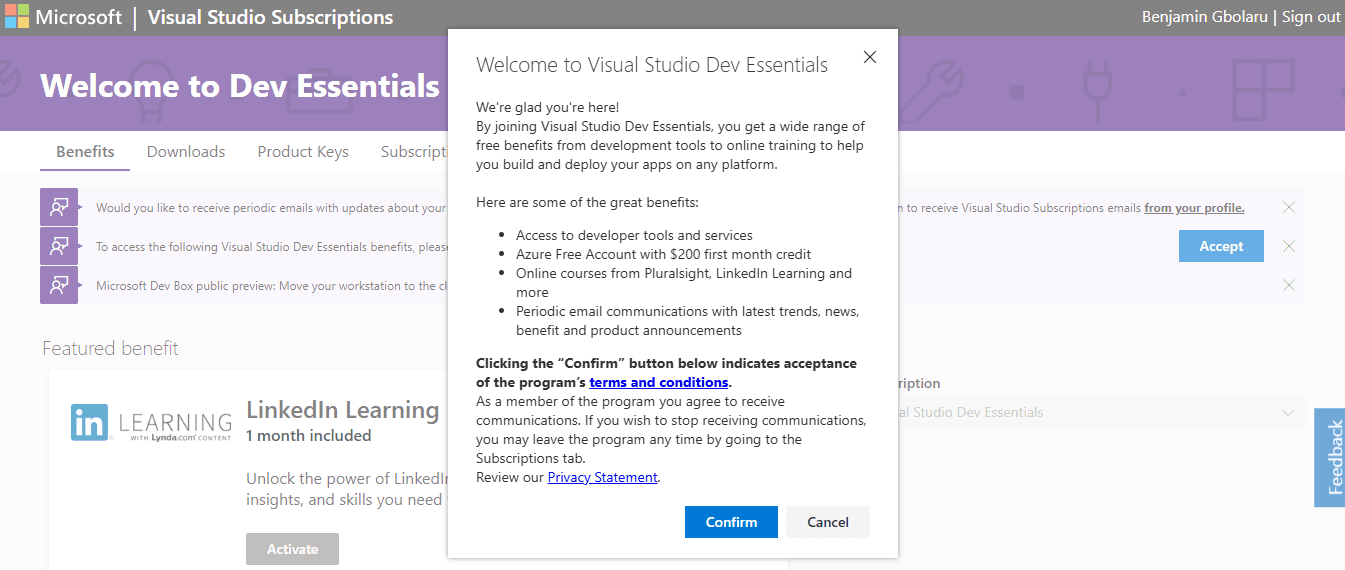
3. Activate your Azure credits.
4. Use the credits to build and test applications.
To activate your Azure credits for Visual Studio, follow the steps below, accompanied by screenshots.
Medha Cloud helps you choose the right subscription and ensures you maximize your credits for development projects.

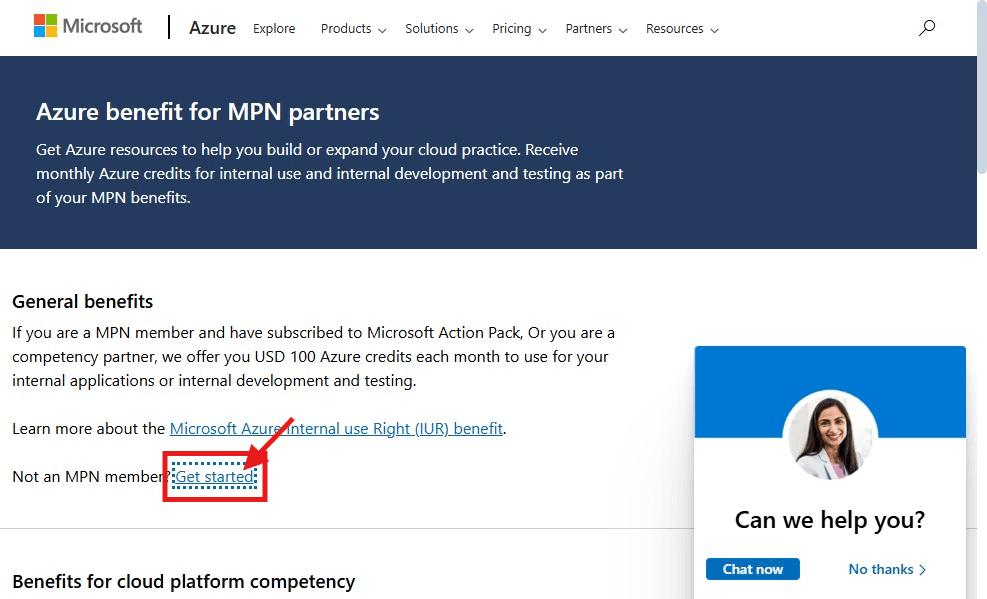
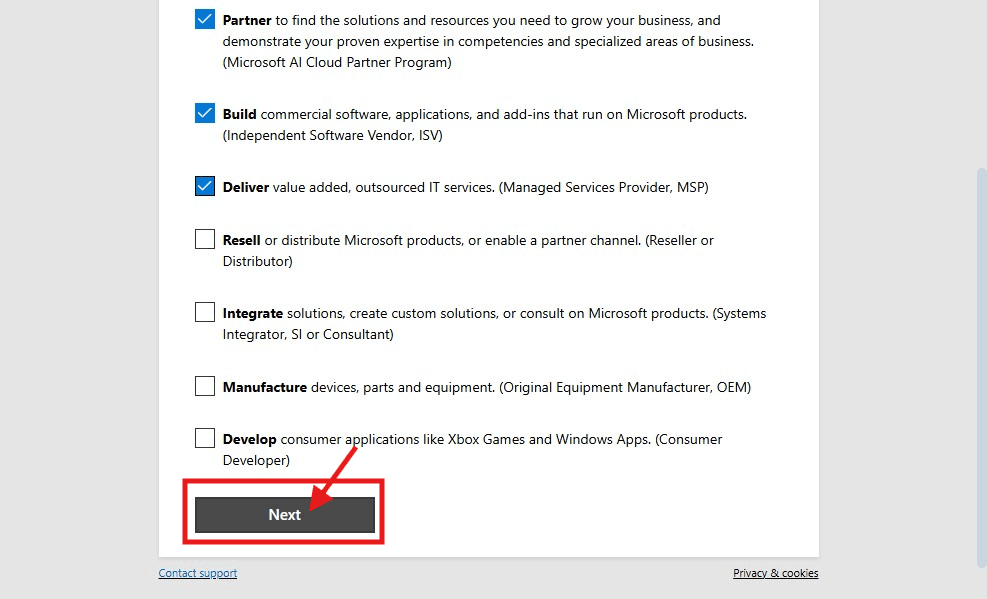
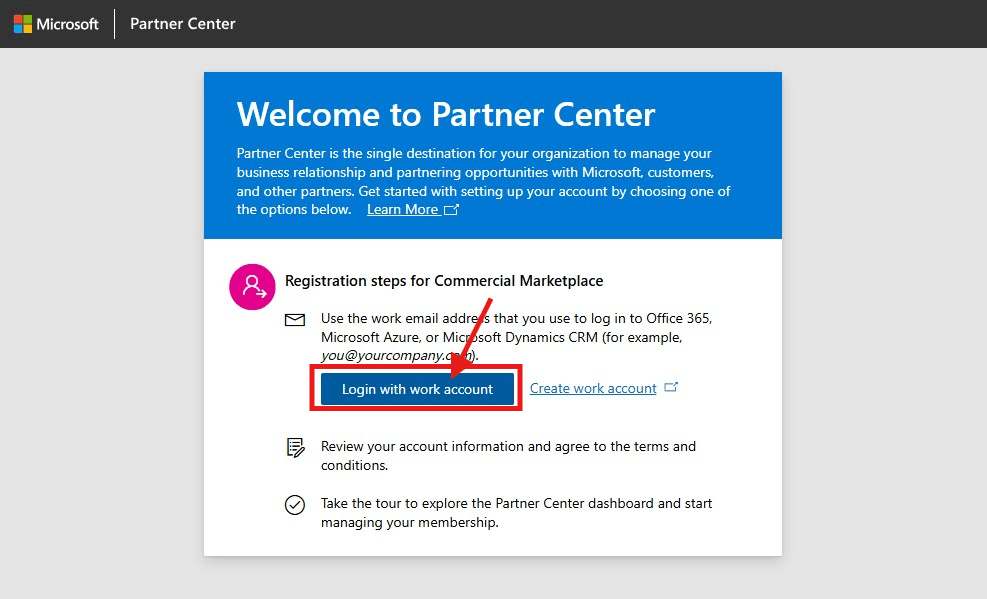
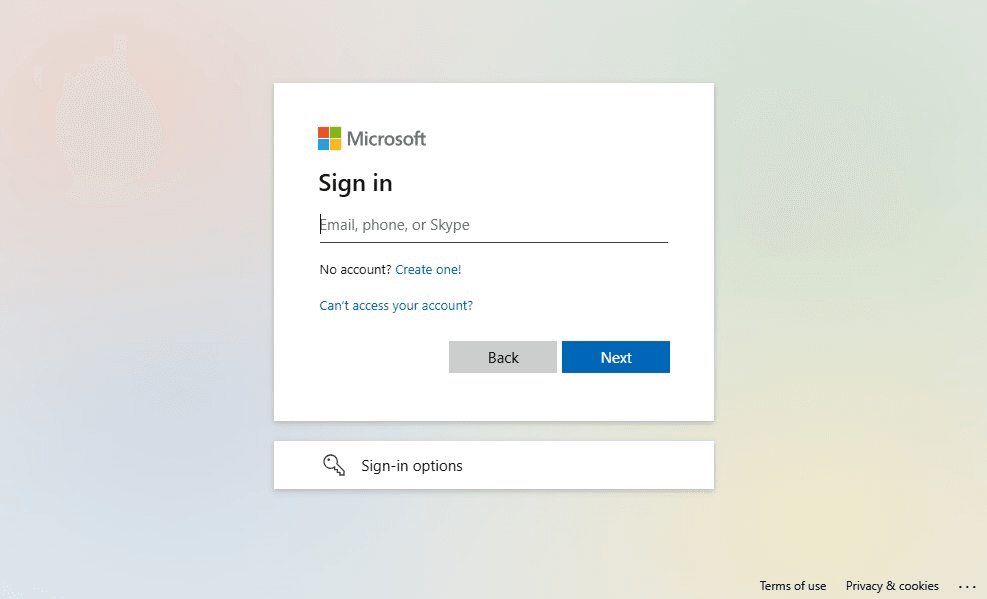
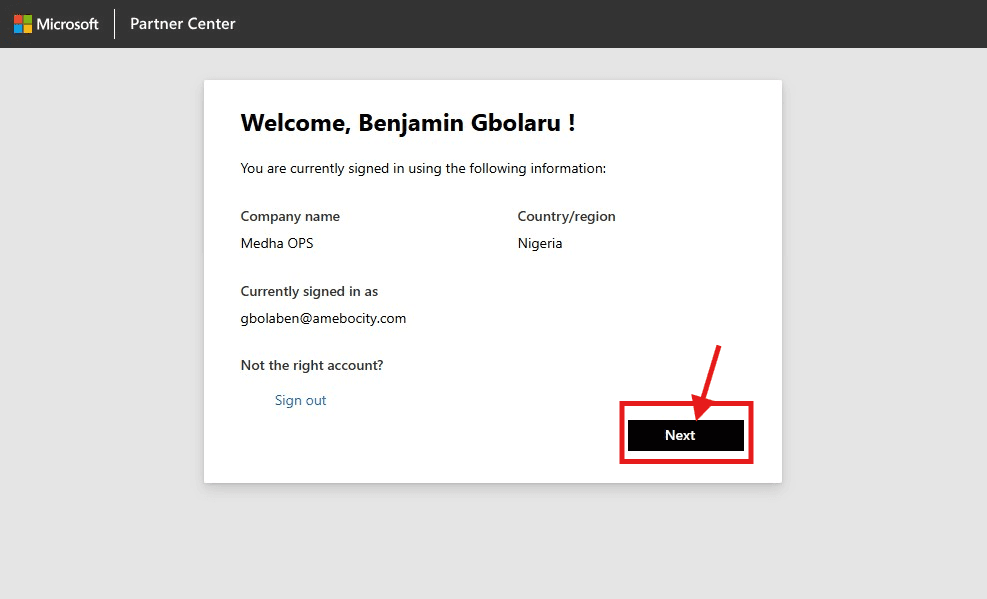
Partners in the Microsoft Partner Network can earn $100 in monthly credits to support their business operations and technical projects.
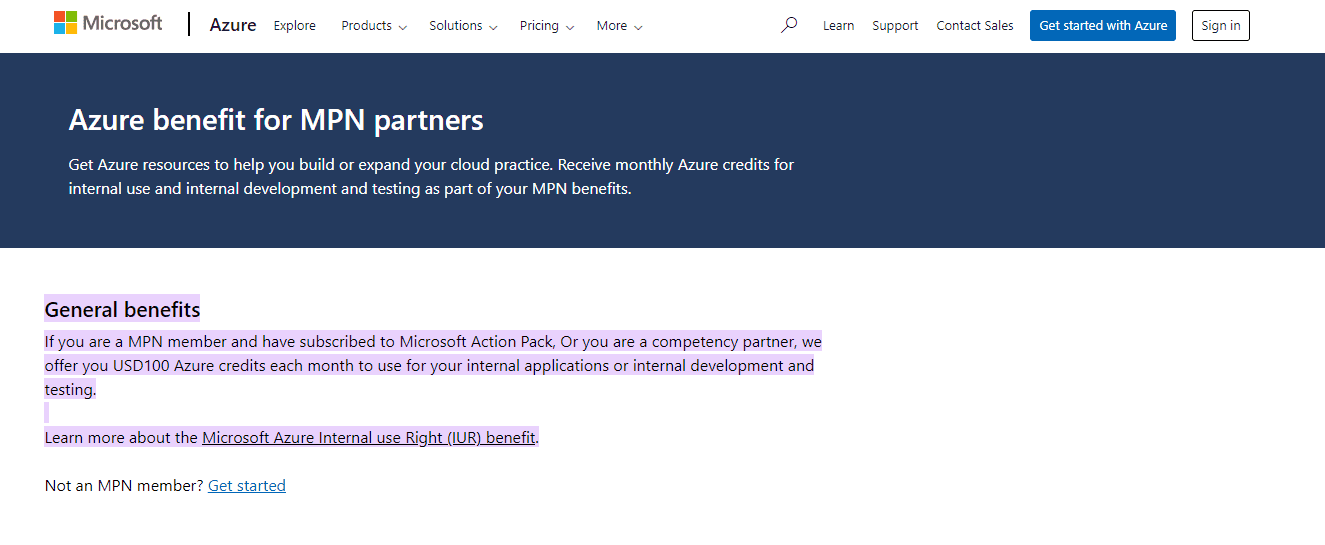
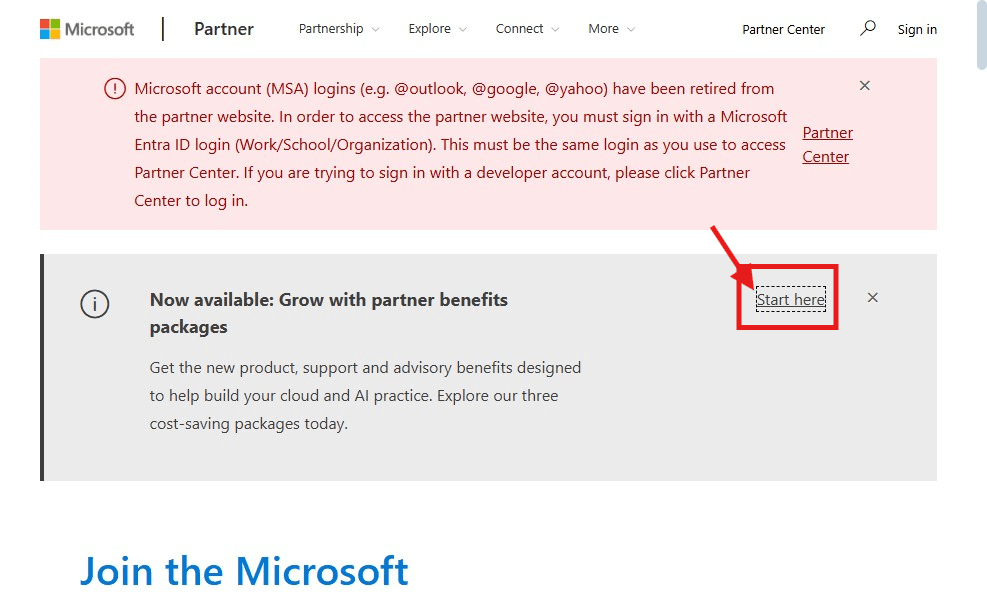
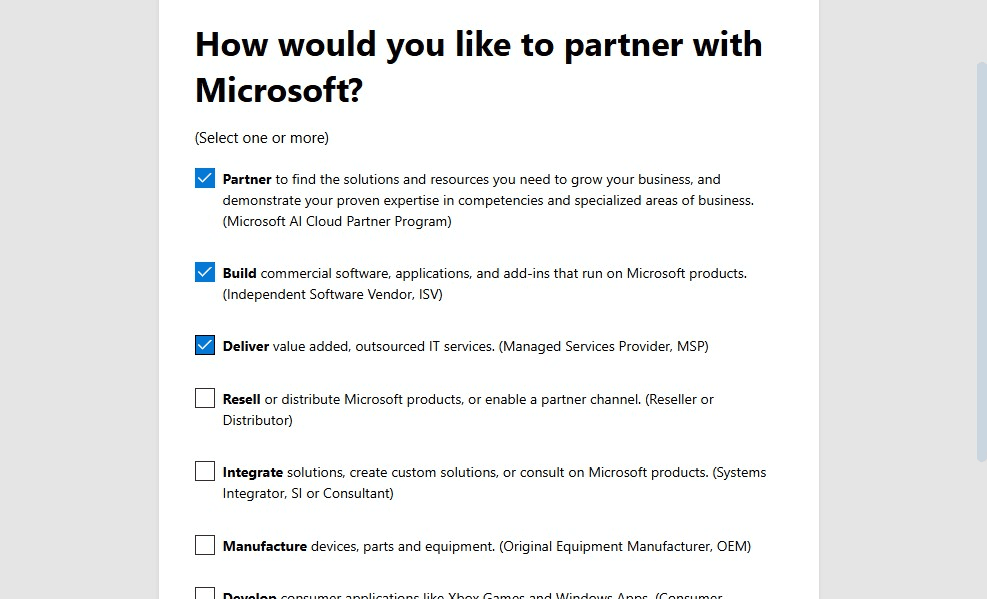
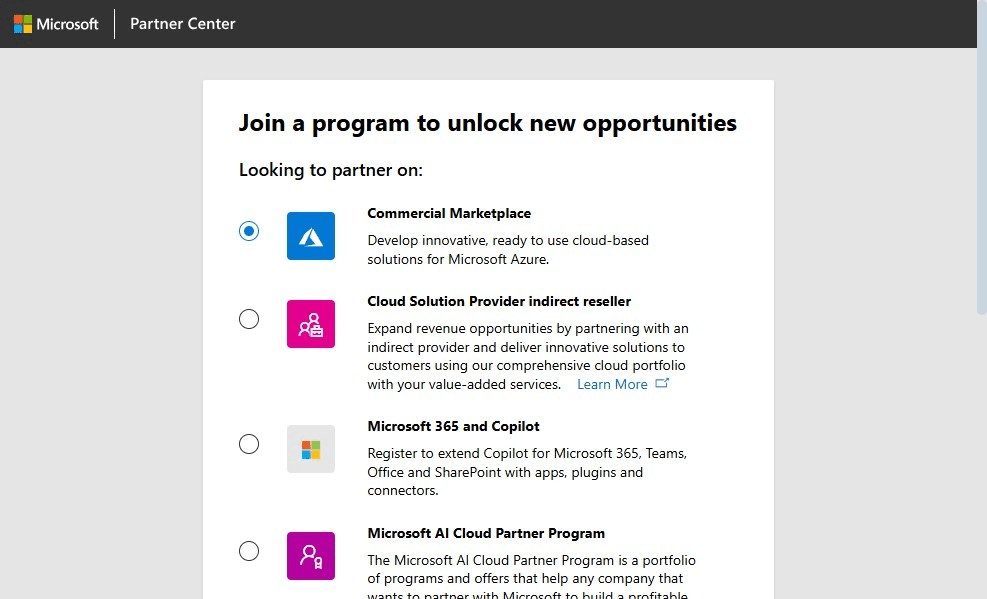
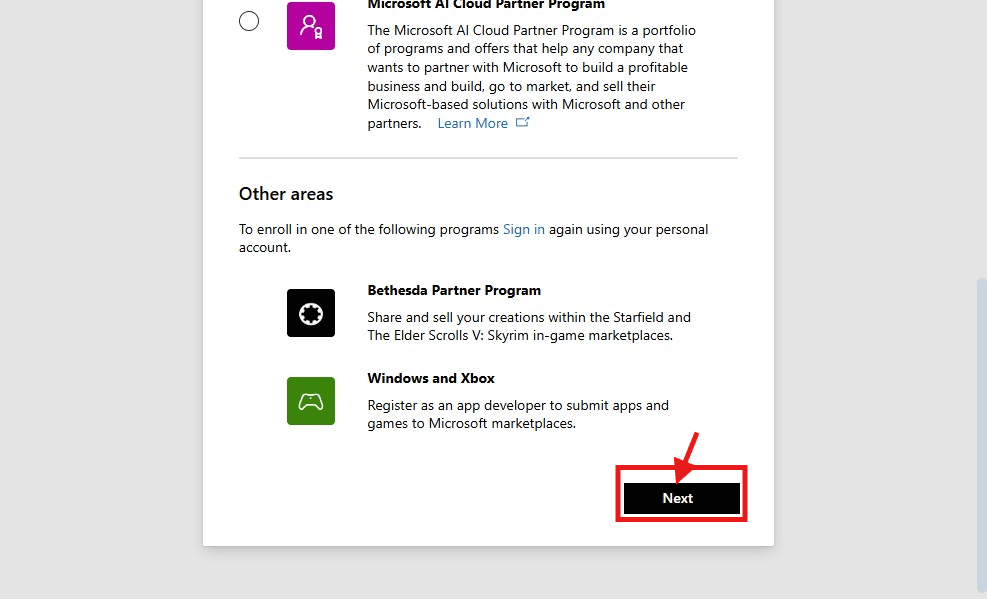
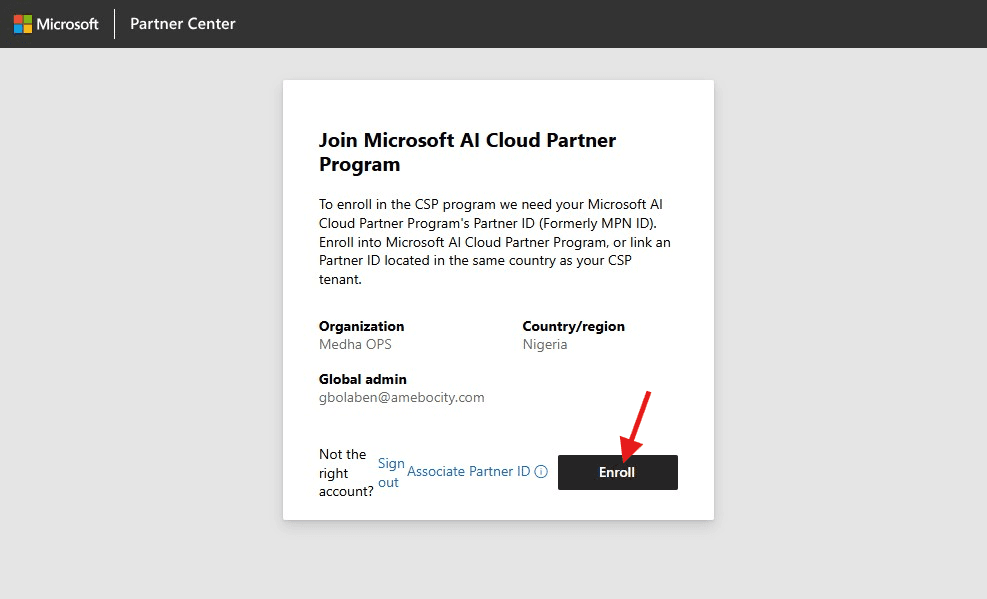
Steps to Access Your Credits:
Below is a step-by-step guide with screenshots on how to become a Microsoft partner and access your free credits.

From competency requirements to benefit activation, Medha Cloud provides hands-on support to help partners utilize their Azure credits efficiently.

Educational institutions can access annual Azure credits for research, teaching, and innovation. This program empowers educators and students to explore advanced cloud technologies.
Medha Cloud specializes in assisting institutions with the application process, helping them unlock Azure Data Factory’s full potential for academic purposes and providing expertise in AWS.

While free Azure’s credits are incredibly valuable, navigating the process can sometimes be challenging. Medha Cloud ensures you don’t face these hurdles alone. We offer:

Whether you’re a student, a developer, a startup founder, or an educator, Microsoft Azure has a free Azure Cloud credits program tailored to your needs. With Medha Cloud, you’ll have the support you need to unlock the full potential of Azure’s powerful cloud services.
Whether you’re a student, a developer, a startup founder, or an educator, Microsoft Azure has a free Azure Cloud credits program tailored to your needs. With Medha Cloud, you’ll have the support you need to unlock the full potential of Azure’s powerful cloud services.
Claim Your Free Azure Credits Today—No Card Needed!
Start your journey today—let Medha Cloud guide you to success.
Reach us at:
Microsoft Azure offers a free account, providing $200 in credits for the first 30 days and free services for 12 months. This allows users to explore various Azure services and resources without incurring costs upfront, making it an attractive option for those looking to test the platform.
An azure free trial account includes free services for 12 months, $200 credit to explore any Azure service, free access to popular services for 30 days, and 25+ services that are always free. A free azure trial account is a great way to start exploring Azure’s capabilities without immediate financial commitments.
The Azure free account includes a credit of $200 that must be used within the first 30 days after creating the account. Additionally, you get access to more than 25 free services for 12 months and can run certain cloud computing services for free within specific usage limits. It’s a great way to explore and get started with Microsoft Azure without incurring additional costs.
Azure AI offers a range of services that can be used for free under certain limits. The Azure AI Free Tier includes up to 5,000 transactions per month for various services such as Text Analytics, Speech Recognition, and Translator. You can explore and test these services within the free tier to see if they meet your needs before considering a paid plan. It’s a great way to get started with Azure AI at no cost.
To monitor your Azure Free Usage Tier, you can follow these steps:
1. Sign in to the Azure portal.
2. Navigate to the Cost Management + Billing section.
3. Select the Subscriptions option to view your subscriptions.
4. Click on the specific subscription that includes the Azure Free Usage Tier.
5. You can then view details such as usage, spending, and quotas related to the Free Usage Tier.
6. Set up alerts or notifications to track your usage and ensure you stay within the limits of the Free Usage Tier to avoid unexpected charges.
By monitoring your Azure Free Usage Tier regularly, you can effectively manage your usage, optimize resources, and avoid any potential overages.
Exploring Azure’s free account can be a valuable opportunity for users to delve into cloud computing without immediate financial commitments. With the $200 credit and access to over 25 free services for a year, users can experiment with various tools and services within Azure’s ecosystem.