Multi-factor authentication (MFA) adds an extra layer of security to user accounts in Office 365. It requires users to verify their identity using multiple methods, such as a password and a code sent to their mobile device. This guide will walk you through how to enable and configure MFA settings for users in Office 365.
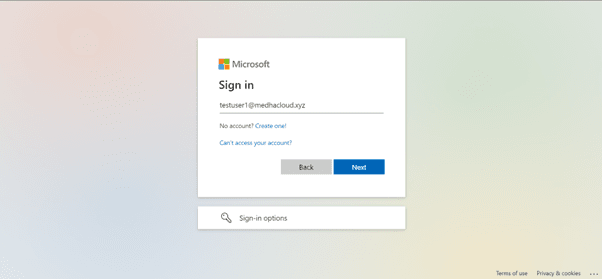
Start by logging into Office 365 using an admin account. Only users with administrative privileges can enable and configure MFA for other users.
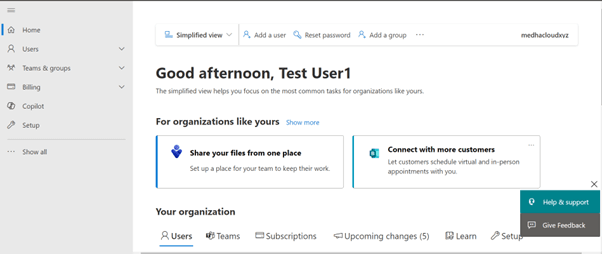
Once logged in, access the Admin app from the Office 365 app launcher (the grid icon in the upper left corner). This will take you to the Office 365 Admin Center where you can manage security settings.
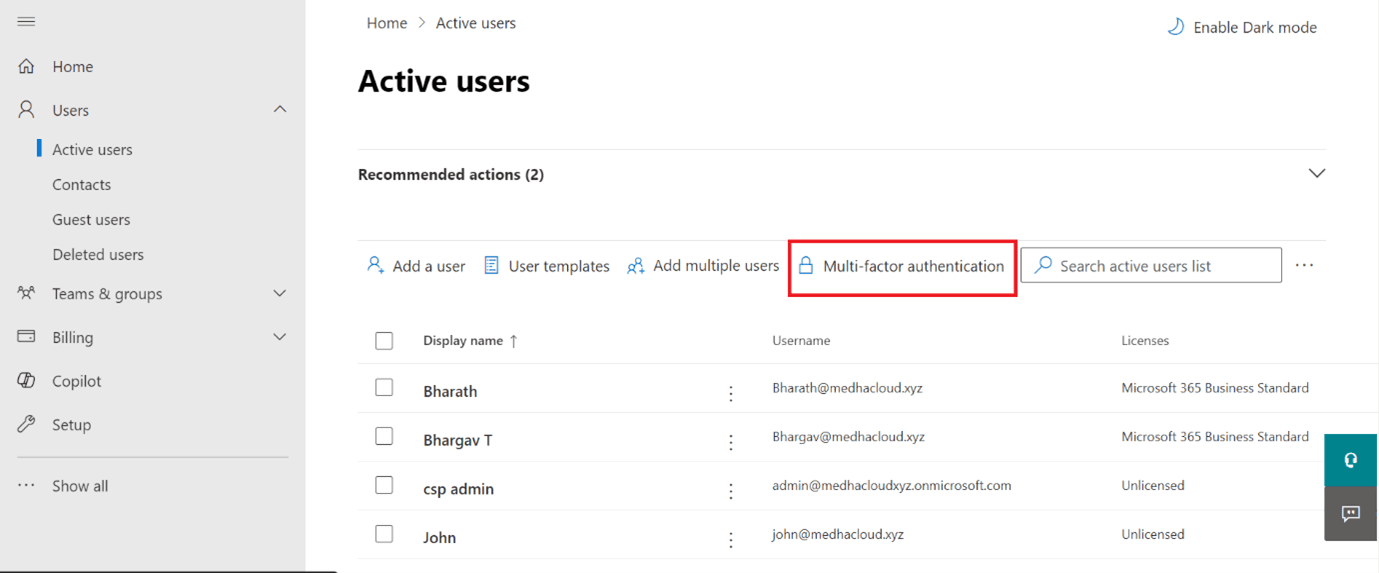
In the Admin Center, go to the Users section, and select Active users. This will display a list of all the active users in your organization.
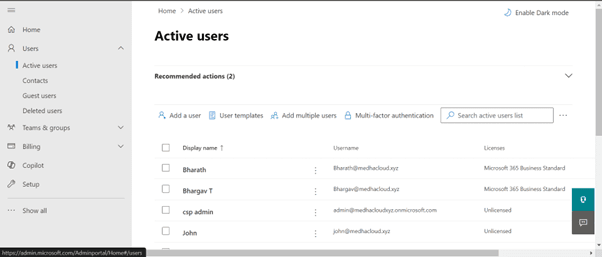
At the top of the Active users page, you will see an option labeled Multi-Factor Authentication. Click on this to manage MFA settings for your users.
In the Multi-Factor Authentication settings page, you will see a list of all users in your organization. Select the users for whom you want to enable MFA by checking the box next to their names.
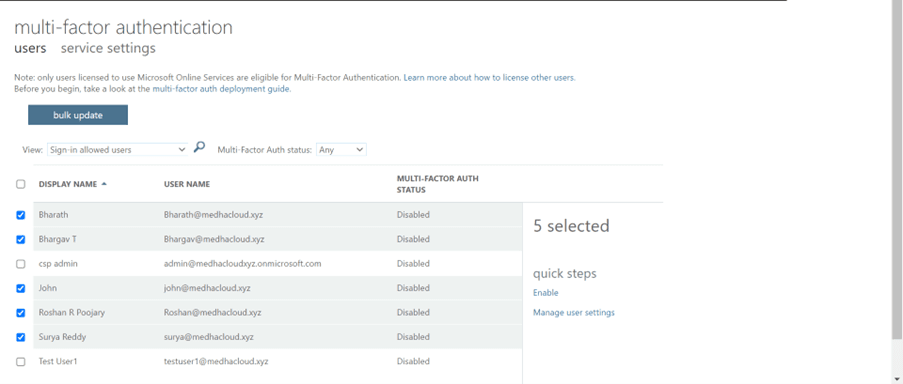
After selecting the users, click the Enable button. This will activate Multi-Factor Authentication for those users, requiring them to complete additional authentication steps when signing in.
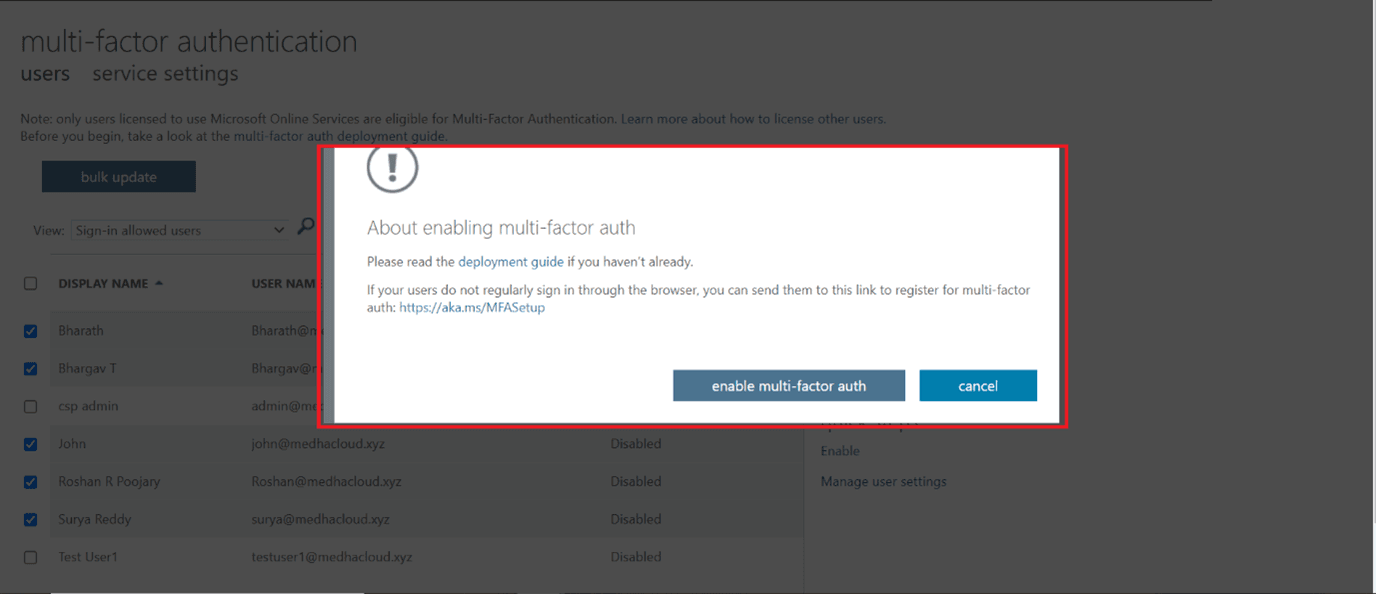
Once enabled, users will need to complete the MFA setup when they next log in. They will be prompted to select a second authentication method, such as receiving a code via text message, using the Microsoft Authenticator app, or receiving a phone call.
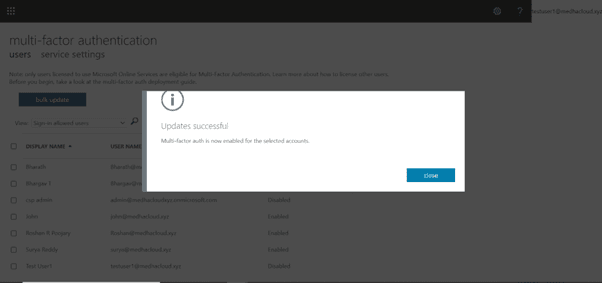
After enabling MFA, you can review the MFA status for each user in the Multi-Factor Authentication settings page. You can see which users have completed the setup and which are still pending.
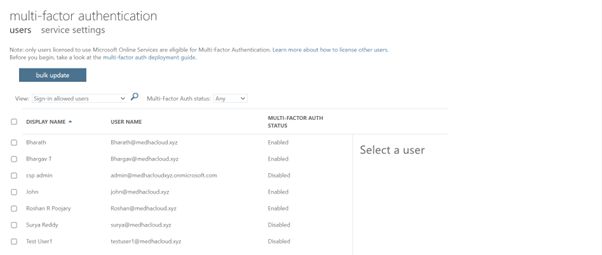
For enhanced security, it is a good practice to require MFA for all admin accounts. In the Service Settings section of the MFA page, you can set this requirement, ensuring that all admins must use MFA to sign in.
Once you have configured the MFA settings, click Save to apply the changes. Users will now be required to authenticate with multiple factors when accessing their Office 365 accounts.
By enabling Multi-Factor Authentication, you significantly increase the security of your organization’s Office 365 accounts.
For more help configuring security settings or other Office 365 features, contact Medha Cloud today. Our team is ready to assist you in securing your organization’s accounts and optimizing your Office 365 setup.