Removing members from a Microsoft 365 Group is important for maintaining appropriate access control over shared resources like email, files, and collaboration tools. This guide will take you through the process of removing members from a Microsoft 365 Group step by step.
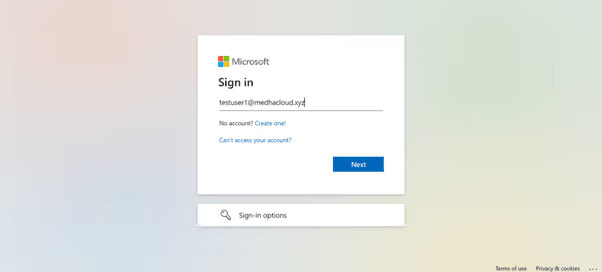
To begin, log in to Microsoft 365 using an admin account or as an existing group owner. Only users with the right permissions can remove members from a Microsoft 365 Group.
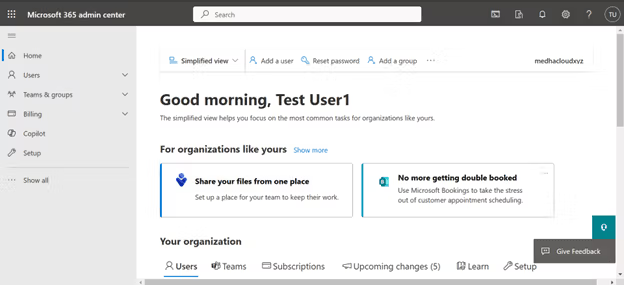
Once logged in, open the Admin app from the Microsoft 365 app launcher (the grid icon in the upper-left corner). This will take you to the Admin Center, where you can manage groups and memberships.
In the Admin Center, click on Groups from the left-hand navigation panel and select Active Groups. This will show a list of all active groups, including Microsoft 365 Groups.
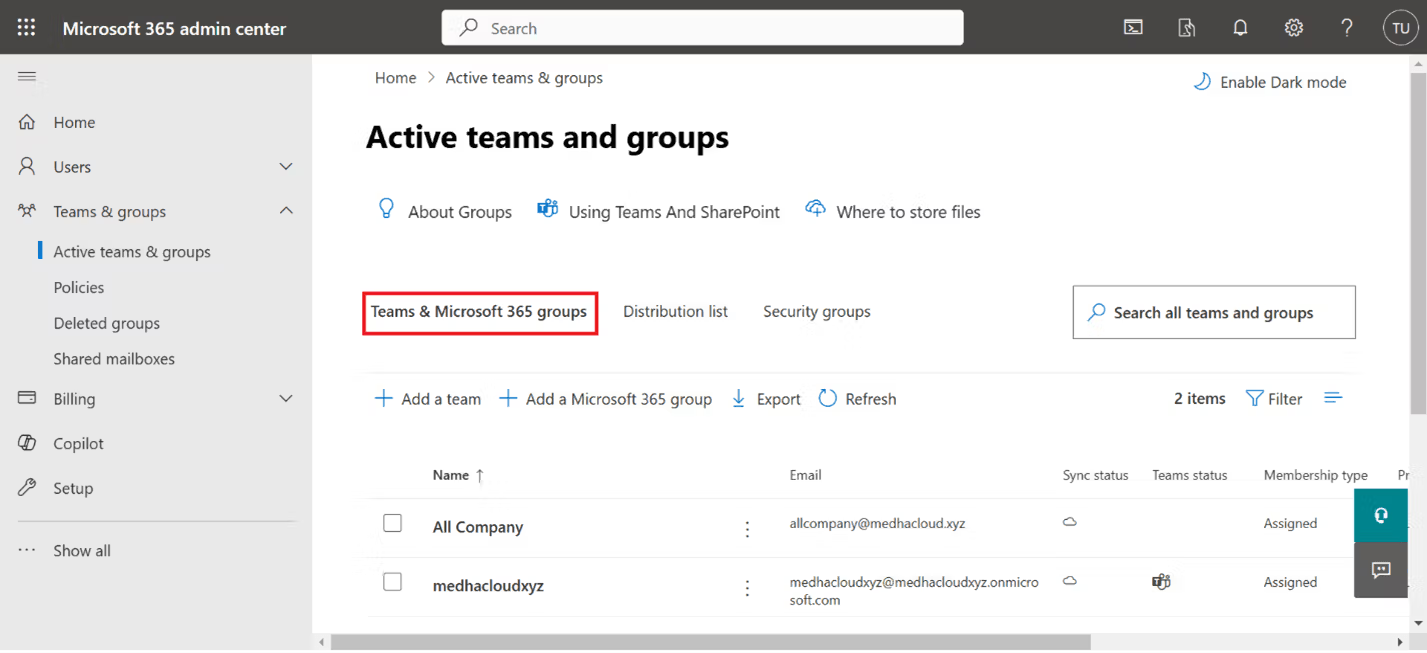
From the list of active groups, find and select the Microsoft 365 Group from which you want to remove members. This will open the group’s settings page.
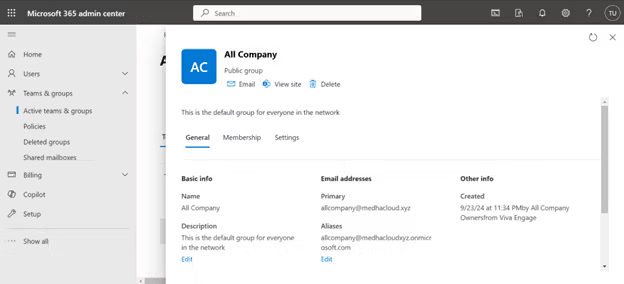
In the group’s settings, click on the Members tab. Here, you can view all the current members of the group and remove any as needed.
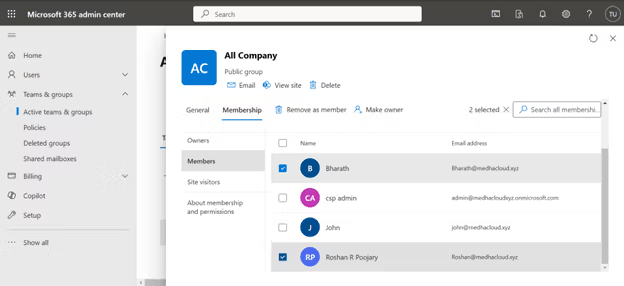
To remove a member, find their name in the list of members and click the Remove (trash icon) button next to their name. This action will immediately revoke their access to the group’s resources.
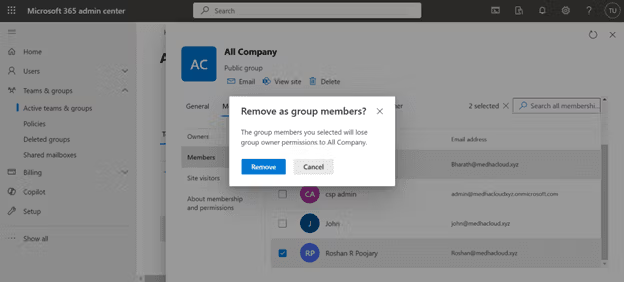
A confirmation message will appear, asking you to confirm the removal of the member from the group. Click Yes or Confirm to proceed.
After removing the members, ensure that you click Save to apply the changes. The removed members will no longer have access to the group’s shared resources such as files, calendars, and email.
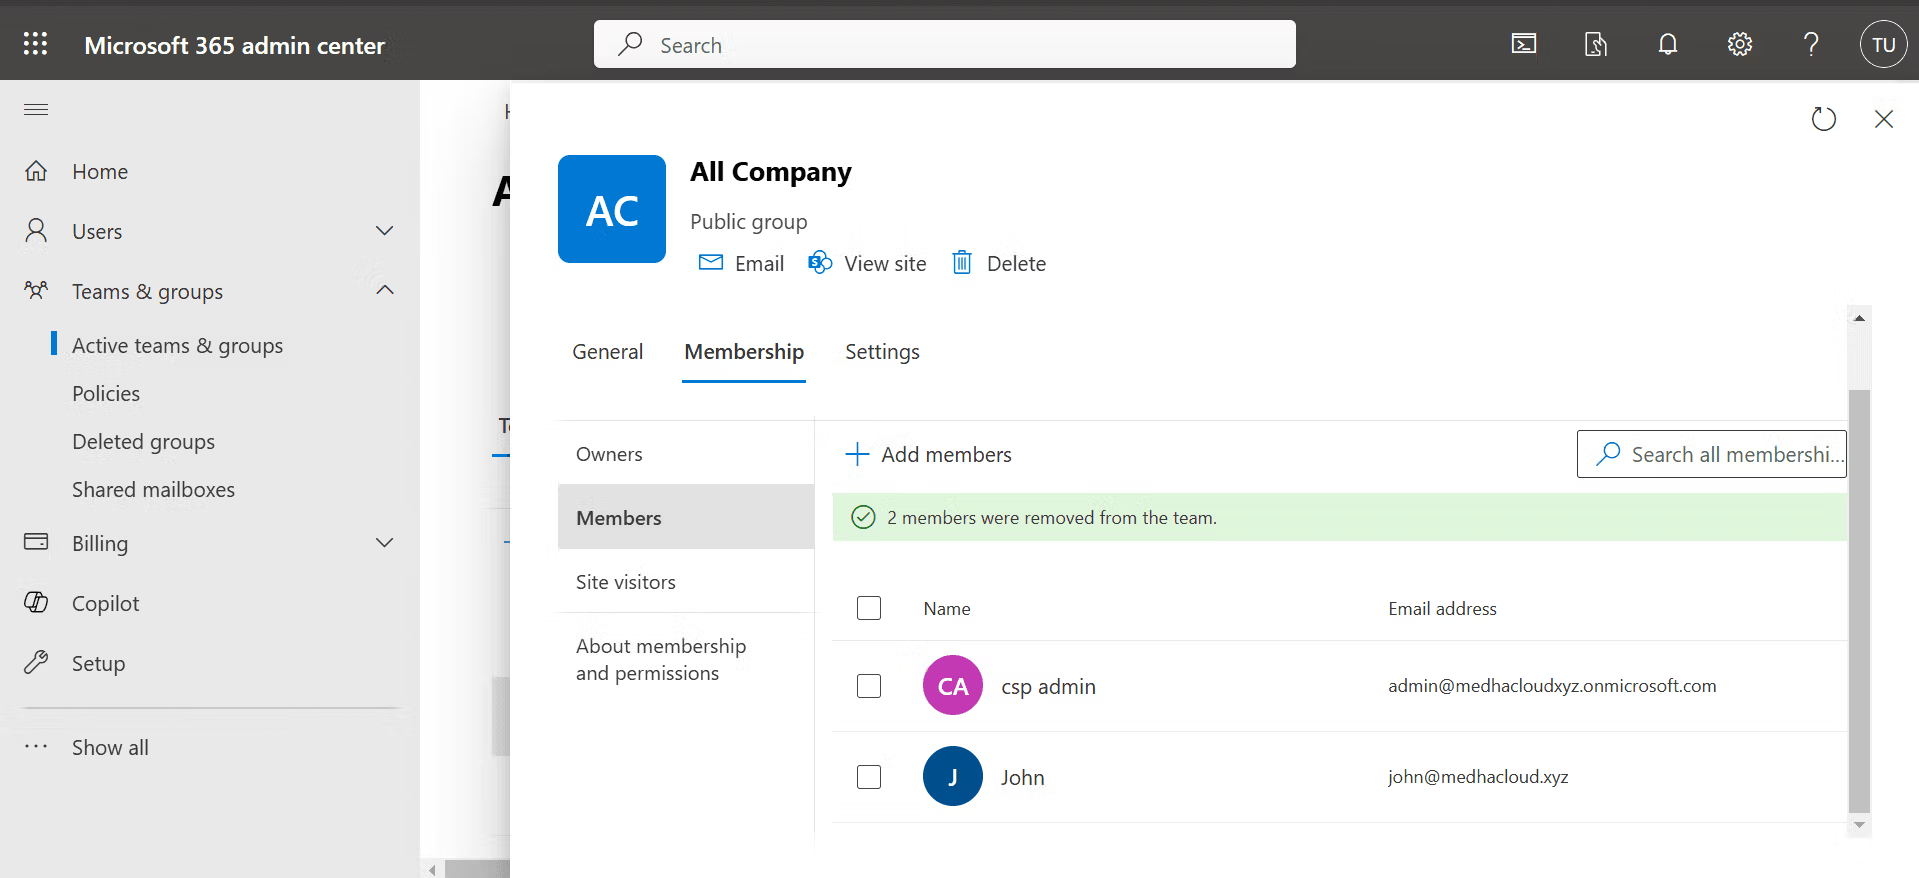
To confirm that the member has been successfully removed, return to the Members tab in the group’s settings and check that the user no longer appears in the list.
Maintaining proper access control in Microsoft 365 Groups is crucial for safeguarding shared resources and ensuring efficient collaboration. By following the outlined steps, you can easily remove members from a Microsoft 365 Group, enhancing security and keeping group membership up-to-date.
At Medha Cloud, we specialize in Microsoft 365 management, providing expert guidance to help organizations streamline their workflows and maintain a secure collaboration environment. Whether it’s managing group memberships or optimizing your entire Microsoft 365 setup, our team is here to assist.
Partner with Medha Cloud Today:
Let Medha Cloud empower your organization with tailored solutions to keep your Microsoft 365 environment secure, efficient, and ready for success.

