Managing security groups in Office 365 allows administrators to control access to resources and permissions for users across the organization. If a user no longer requires access, you can remove them from the security group to ensure security and compliance. This guide will walk you through how to remove members from a security group in Office 365.
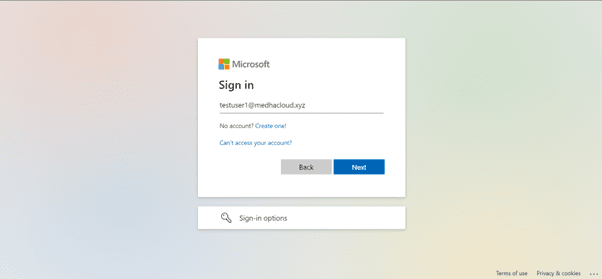
As with most administrative tasks, start by logging into Office 365 using an admin account. Only users with administrative privileges can manage security group membership.
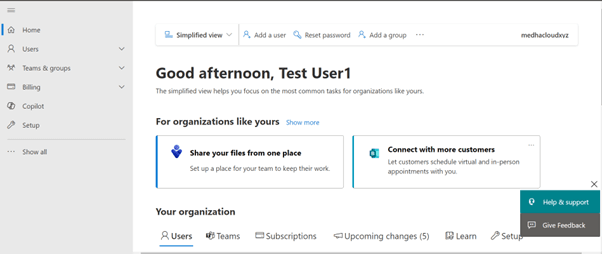
Once logged in, go to the Admin app from the Office 365 app launcher (the grid icon in the upper left corner). This will take you to the Office 365 Admin Center, where you can manage groups and their members.
In the Admin Center, click on Groups from the left-hand panel, then select Active Groups. This will display a list of all active groups, including security groups, within your organization.
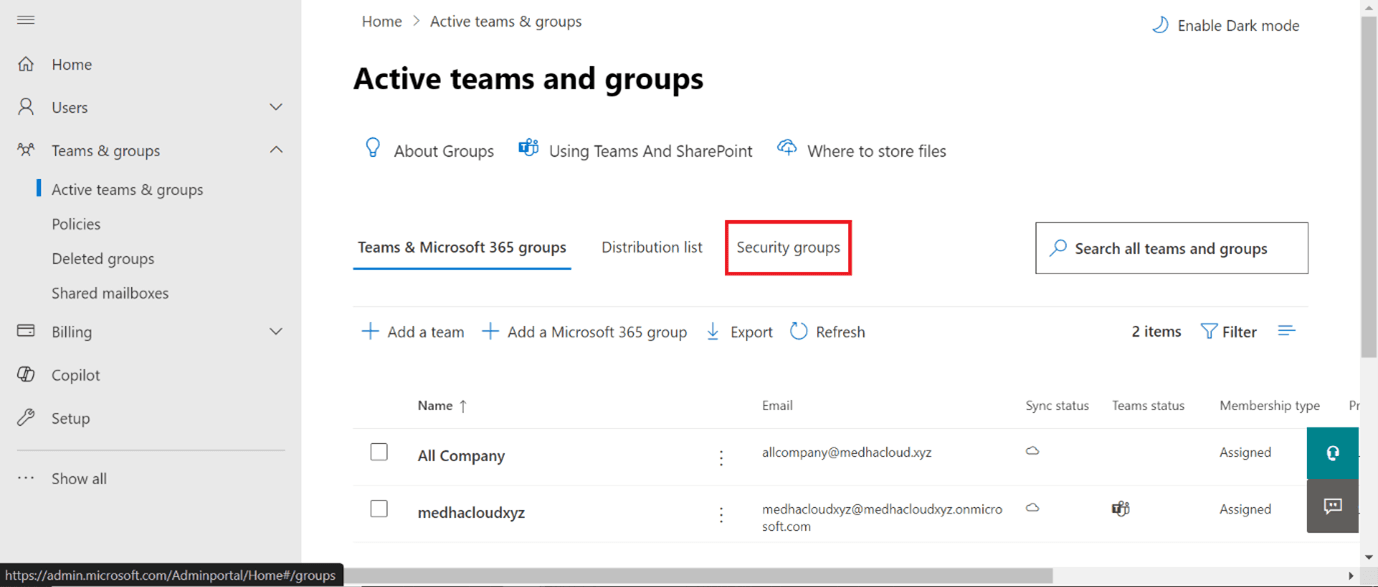
From the list of active groups, select the security group from which you want to remove members. This will open the group’s details.
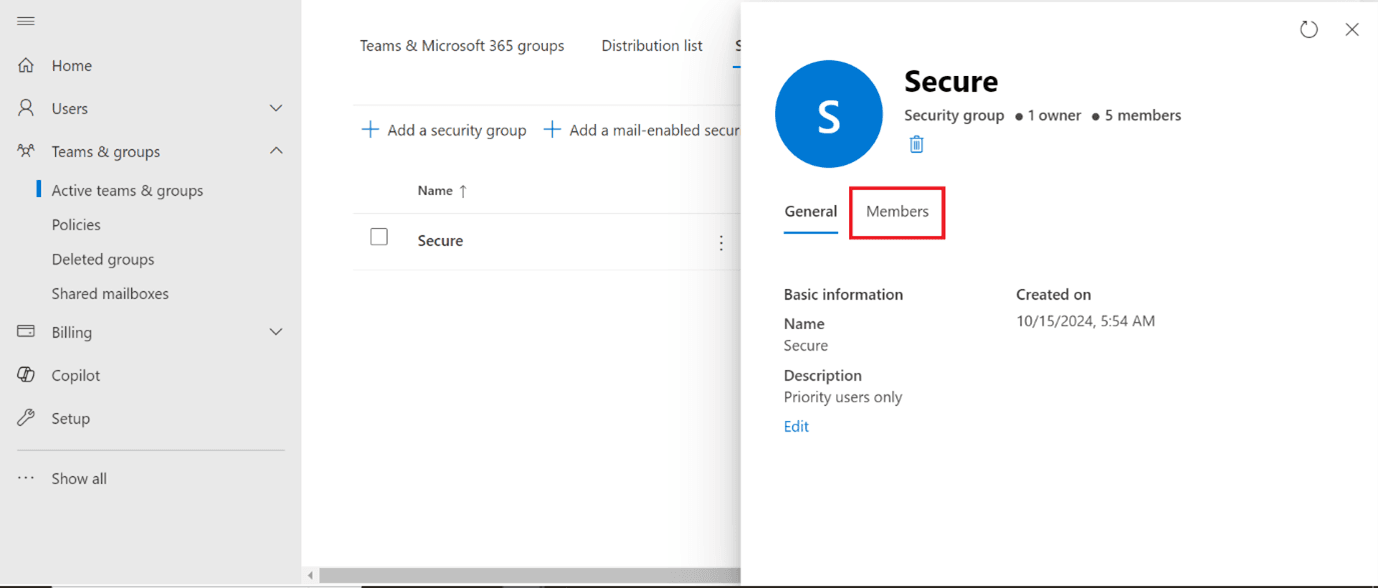
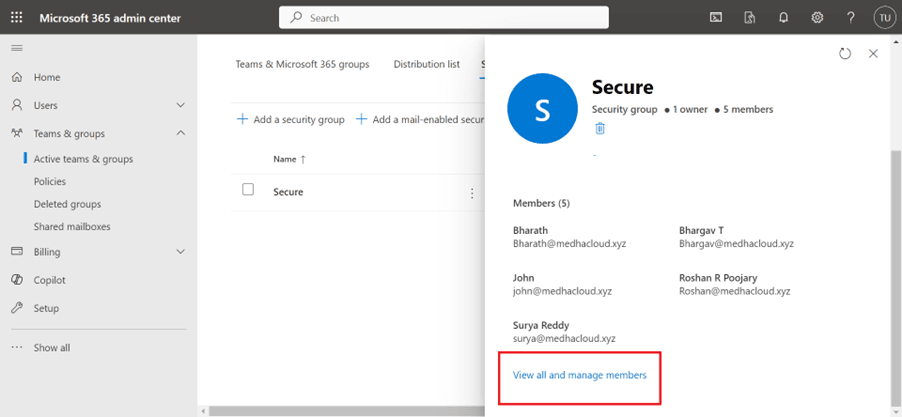
In the security group’s details page, navigate to the Members tab. Here, you will see a list of all users who are currently part of this security group.
To remove a member, find the user’s name in the list and click the Remove button next to their name. This will revoke their access to the resources and permissions associated with the security group.
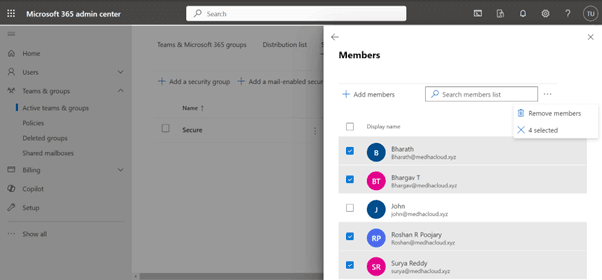
After clicking Remove, you may be asked to confirm that you want to remove the member from the security group. Confirm the action to proceed.
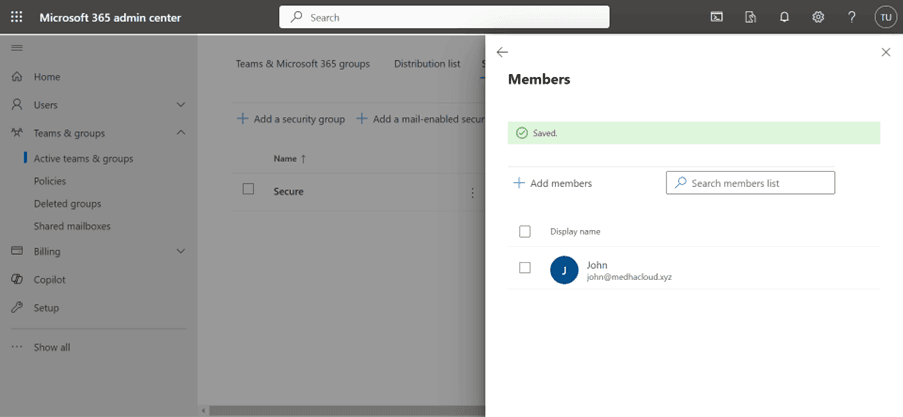
After removing the member, make sure to save your changes. The user will no longer have the permissions or access granted by the security group.
You can return to the Members tab of the security group to verify that the user has been successfully removed. The user’s name should no longer appear in the list.
By following these steps, you can efficiently manage and remove members from a security group in Office 365, ensuring that only authorized users have access to sensitive resources and permissions.
For more help managing security groups or other Office 365 tasks, contact Medha Cloud today. We’re here to assist you in securing and optimizing your Office 365 environment.