

Apache is a widely used and reliable web server that powers countless websites worldwide. Installing Apache on your Ubuntu 22.04 server is a straightforward process that can be completed in a few simple steps.
In this guide, we’ll provide clear instructions and explanations to help you set up Apache on your Ubuntu system. By the end, you’ll have a fully functional web server ready to host your websites and applications..
First, make sure that you’re using Ubuntu 22.04 to ensure that the installation goes smoothly. To check your Ubuntu version, open a terminal window and run the following command:
cat /etc/*release
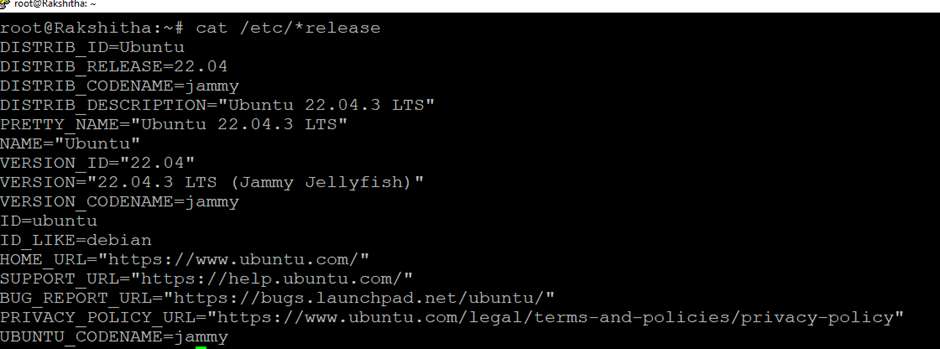
Key Takeaways: Using the correct version of Ubuntu is essential for the installation process.
Next, we will install Apache with a simple command in the terminal, and the Apache web server package will be added to your system.
sudo apt install apache2

Key Takeaways: The Apache installation is quick and sets the base for your web server.
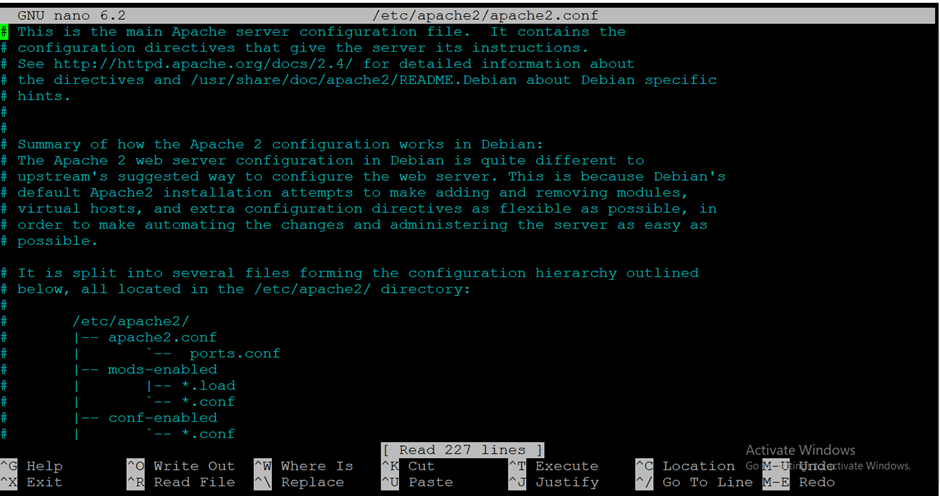
Once Apache is installed, we can begin to configure and customize it. You will adjust Apache’s configuration files to meet your needs, save the changes, and then restart Apache to apply them.
sudo nano /etc/apache2/apache2.conf
To restart Apache, run the following command:
sudo systemctl restart apache2

Key Takeaways: Proper configuration is necessary for Apache to meet your specific needs.
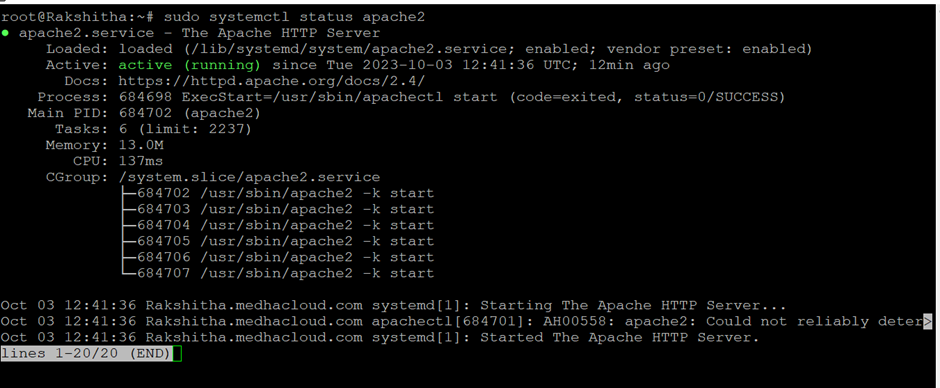
Then, we will verify that Apache is running properly with a straightforward status check.
sudo systemctl status apache2
If you’re using a firewall, you’ll need to open port 80 to allow Apache to communicate with the outside world. To do this, run the following command:
sudo ufw allow 80

Key Takeaways: Ensuring the firewall settings are correct is essential for external communications.
To finish, we will test Apache. You should see the Apache default welcome page when visiting a local address in your web browser, confirming that the installation was successful.
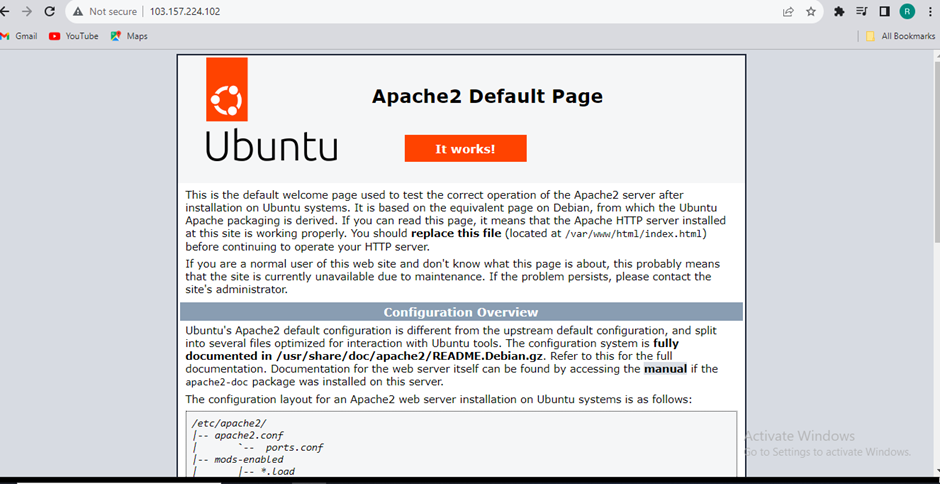
Congratulations! You’ve successfully set up Apache on Ubuntu 22.04. Now, you’re equipped to host your own websites and web applications. To further enhance your Apache setup, explore features like URL rewriting, custom error pages, and performance optimization. Remember to keep your server updated and secure for optimal results. Happy hosting!
Explore More with Medha Cloud!
Want to learn more? Visit our Linux Server Support page for additional insights and support!
