12 Simple steps for installing CentOS on a Virtual Machine: A comprehensive guide


In this post, we will explore the step-by-step process to install CentOS on VirtualBox. VirtualBox, originally developed by Sun Microsystems and now owned by Oracle, is a powerful virtualization software that allows you to run multiple operating systems simultaneously on a single computer. This capability is particularly useful for testing, development, and learning environments where you may need to work with different OS configurations without affecting your primary system.
By using VirtualBox, you can easily create virtual machines to install and run CentOS, a robust and stable Community Enterprise Operating System. CentOS is widely recognized for its focus on server environments, offering reliability and performance that mirrors its upstream source, Red Hat Enterprise Linux (RHEL). As a part of the Linux Operating System Distribution family, CentOS is not only free to use but also provides long-term support, making it a preferred choice for businesses, developers, and IT professionals who require a secure and consistent server environment.
In this guide, we'll cover everything you need to know to get CentOS up and running on VirtualBox, including the prerequisites, detailed installation steps, and post-installation setup to ensure your CentOS virtual machine is configured optimally for your needs.
Total Time Needed: 30 Minutes
Required tools:
Virtual Machine installed on VirtualBox
Steps to install CentOS on Virtual Machine
Step 1 : Open CentOS Linux
Go to centos.org, Click on CentOS Linux.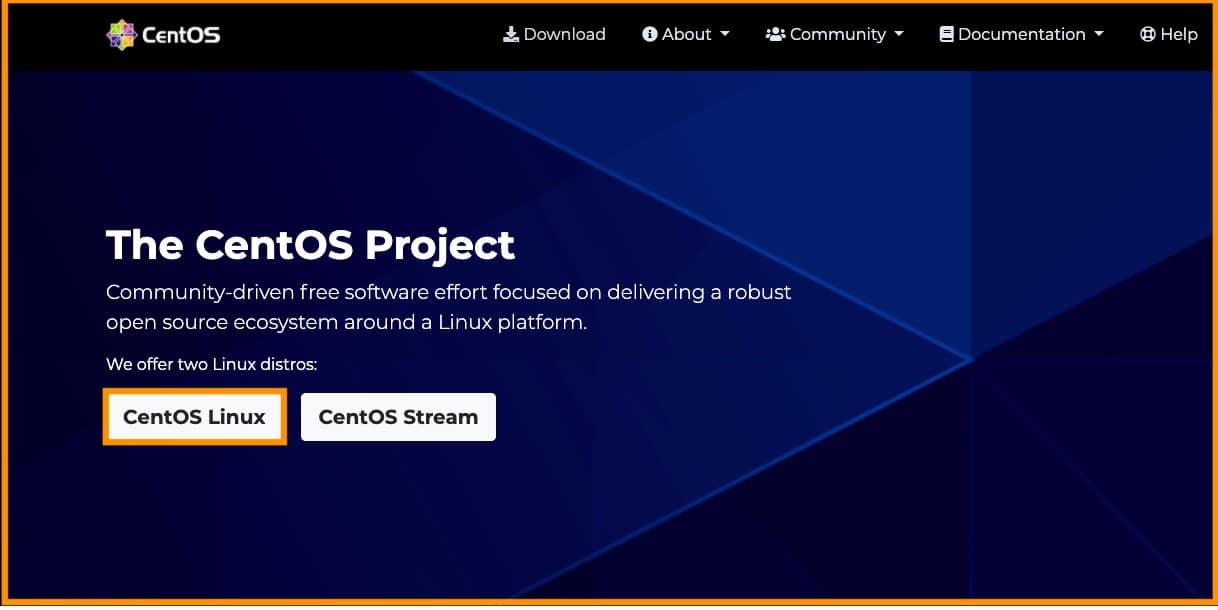
Step 2 : Download Version
Select the version of CentOS that you are looking for and click on it to download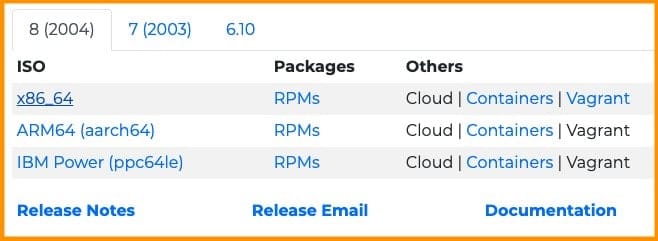
Step 3 : Open Virtual Machine
Now open Virtual Machine and click on "START."
Select the downloaded CentOS file by clicking the file symbol, as shown in the image, and click START.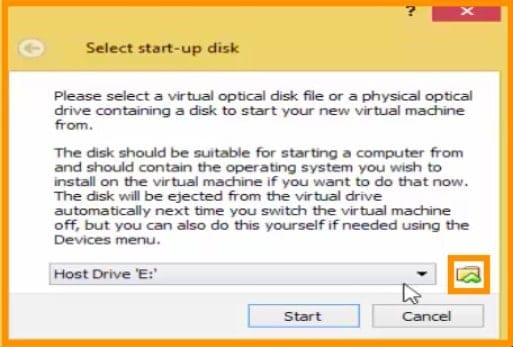
Step 4: Install CentOS 7
Now click on Install CentOS 7.
Installation process will now have begun as you can see in the below image.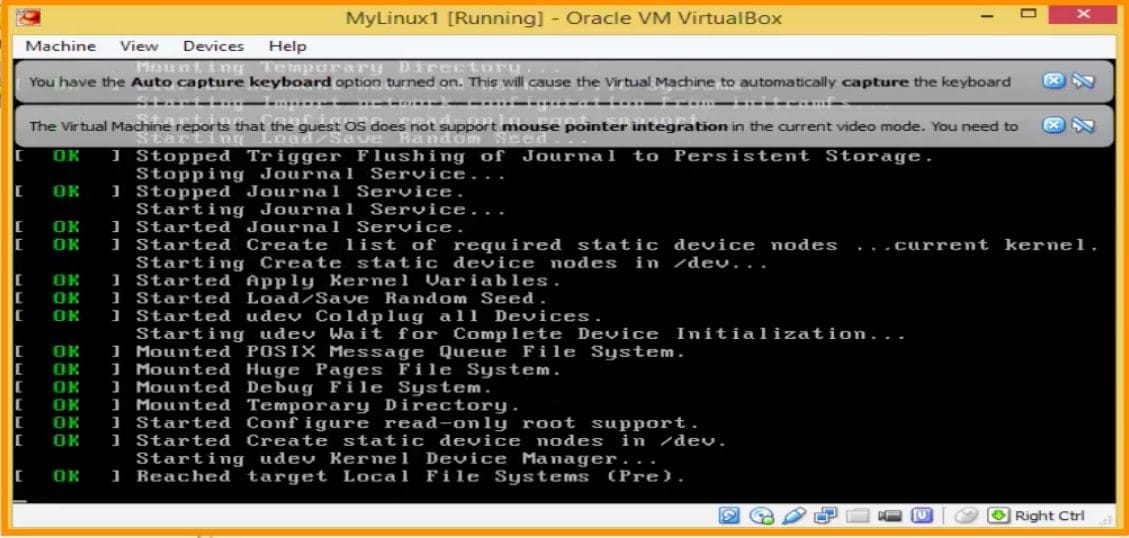
Step 5: Select the Language
Select the language and click continue. To click, continue scroll to the right side of the page. You can scroll by using your windows mouse cursor, only not the virtual mouse cursor. You can toggle between cursors by clicking on CONTROL on your keyboard.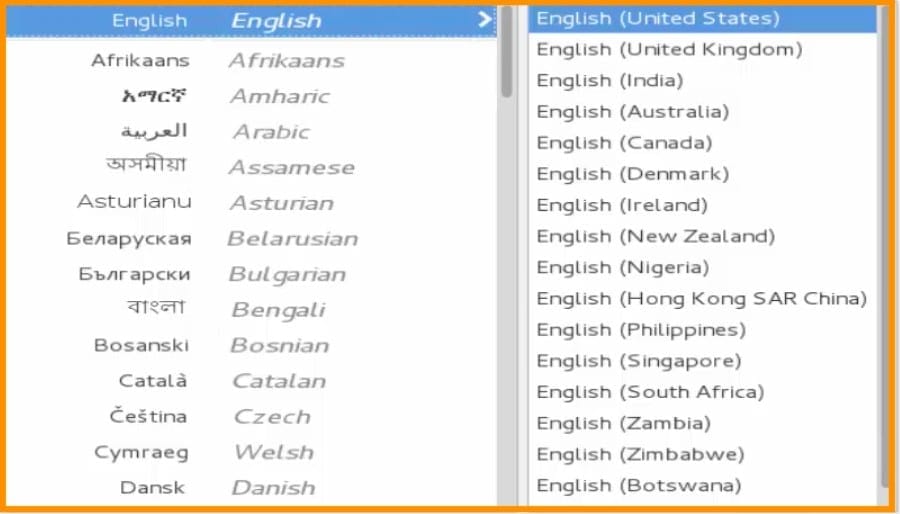
Step 6: Localization Setting
Select the localization settings by clicking on them. Select Date Time, Keyboard, Language settings one by one and enter the details.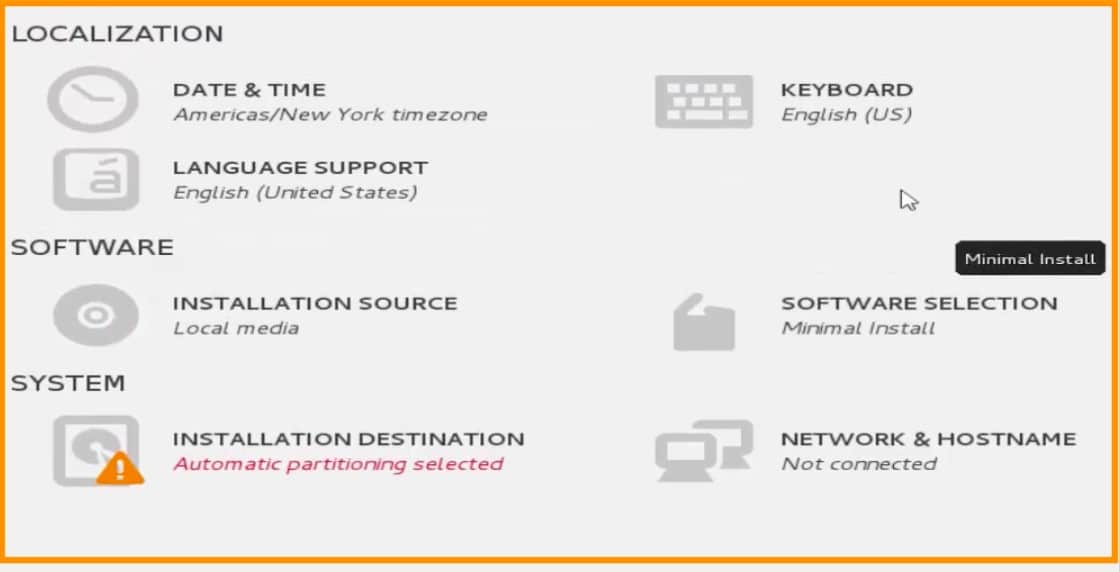
Now Click on Installation Source.
Select Auto-detected installation media, click on verify and click on DONE
Step 7: Install Software
Now click on Software selection.
Select the software that you wish to install and Click DONE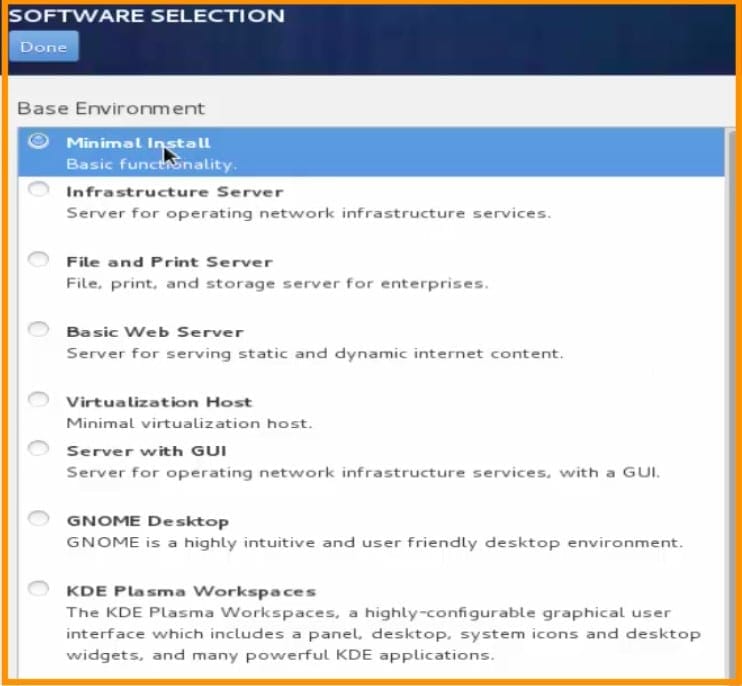
Step 8: Set Installation Destination
Click on INSTALLATION DESTINATION.
Select “Automatically configure partitioning” to partition automatically, or if you wish to do it manually, click on “I will configure partitioning.”
Make sure that there is a Tick symbol on the Hard disk.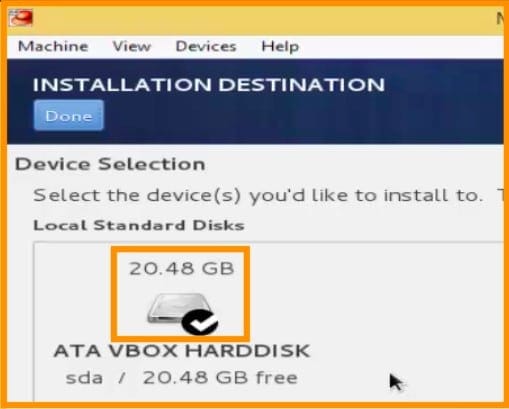
Scroll to the right side of the page and click Begin Installation. You can scroll by using your windows mouse cursor, only not the virtual mouse cursor. You can toggle between cursors by clicking on CONTROL on your keyboard.
Step 9: Set Root Password
Now You can set password to your root account by clicking on “ROOT PASSWORD”. You can add new users by clicking on USER CREATION.
If you have clicked USER CREATION, Enter the details for new user and click continue
Scroll to the right side of the page and click on REBOOT.
You can now see that CentOS is being installed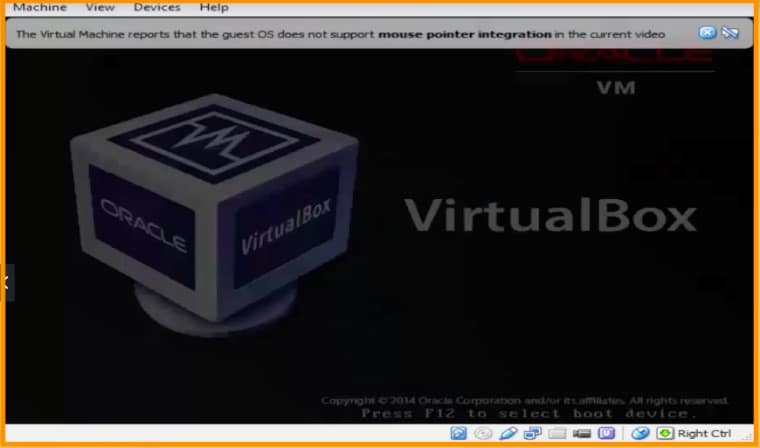
Step 10: License Information
Now you will see a new page. Accept the license by clicking on LICENSE INFORMATION.
Scroll down and tick the box to accept the license![]()
Step 11: Enable/Disable Kdump
Now you can enable or disable by checking the box below. K dump is kernel crash dumping mechanism. In the event of crash, Kdump will capture information from your system that can be invaluable in determining the cause of crash. It will reserve a portion of system memory that will be unavailable for other users.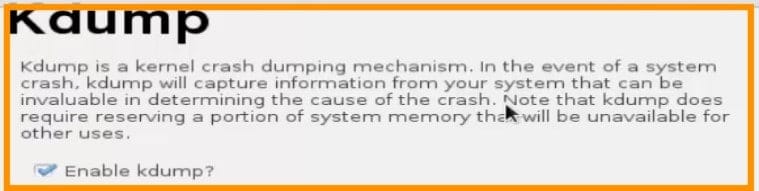
Now click on FORWARD.
Now the system requires to reboot. Click on OK
Step 12: Log In to CentOS
Now you can log in to CentOS by clicking on any user that you have previously created by entering details. If you want to login to root, Click on Not Listed? And enter the user name as root and enter the password that you have set and log in.![]()
You can now use CentOS on your virtual machine.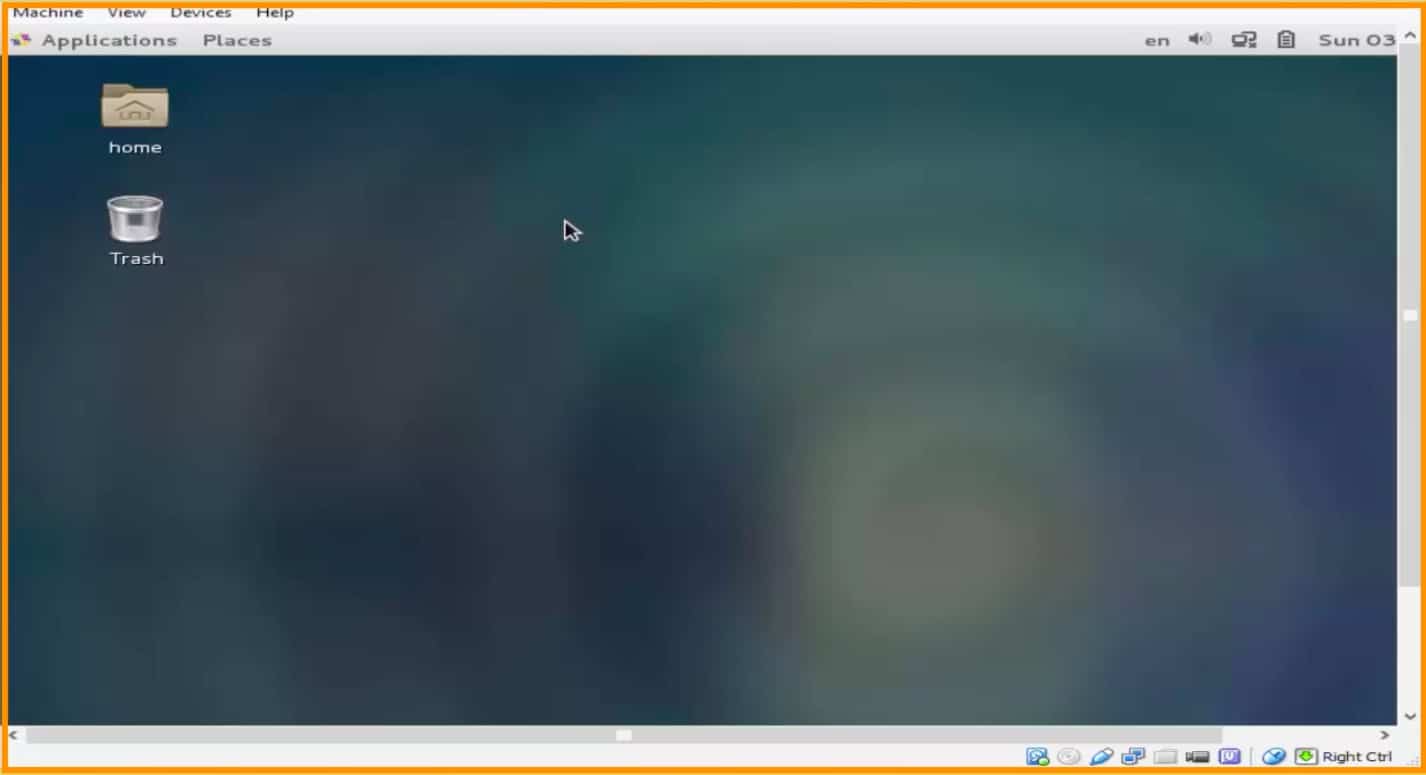
Conclusion:
Hope you understand how to install CentOS in Virtual Machine. Follow the steps and learn to install CentOS by yourself. However, if you got any doubts, please contact Medha Hosting.
Our Linux experts are ready to help you to manage your Linux infrastructure and get the most out of it.
Read Here: How To Install & Configure Nagios In CentOS 7
Topics
Rakshitha
White-Label Services Specialist • 5+ years
Rakshitha specializes in white-label IT services and Linux server administration. She helps MSPs expand their service offerings through strategic outsourcing partnerships and provides expert guidance on Linux-based infrastructure solutions.