Step-by-Step Guide to Adding Members to a Microsoft 365 Group
Adding members to a Microsoft 365 Group allows you to easily manage access to shared resources like Outlook email, calendars, files in SharePoint, and collaborative tools like Teams. This guide will walk you through the process of adding members to a Microsoft 365 Group.
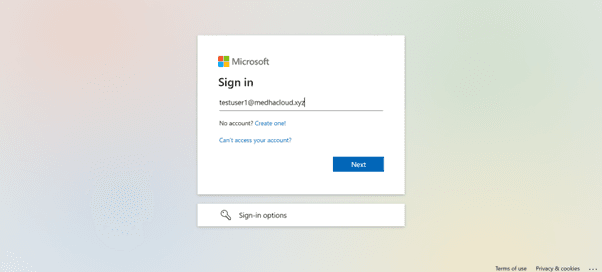
Step 1: Log in to Microsoft 365 with Admin Privileges
Start by logging in to Microsoft 365 using an admin account. Only administrators or existing group owners can add members to Microsoft 365 Groups.
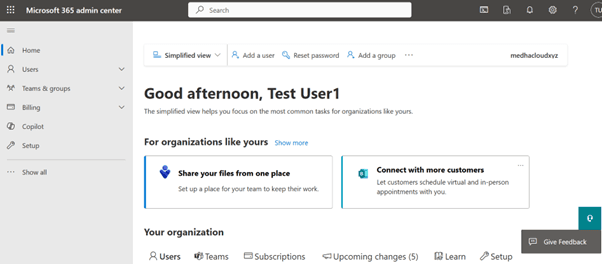
Step 2: Open the Admin Panel
Once logged in, click on the Admin app from the Microsoft 365 app launcher (the grid icon in the upper-left corner). This will open the Admin Center, where you can manage groups and members.
Step 3: Navigate to Groups > Active Groups
In the Admin Center, click on Groups from the left-hand navigation panel, then select Active Groups. This will display a list of all active groups in your organization, including Microsoft 365 Groups
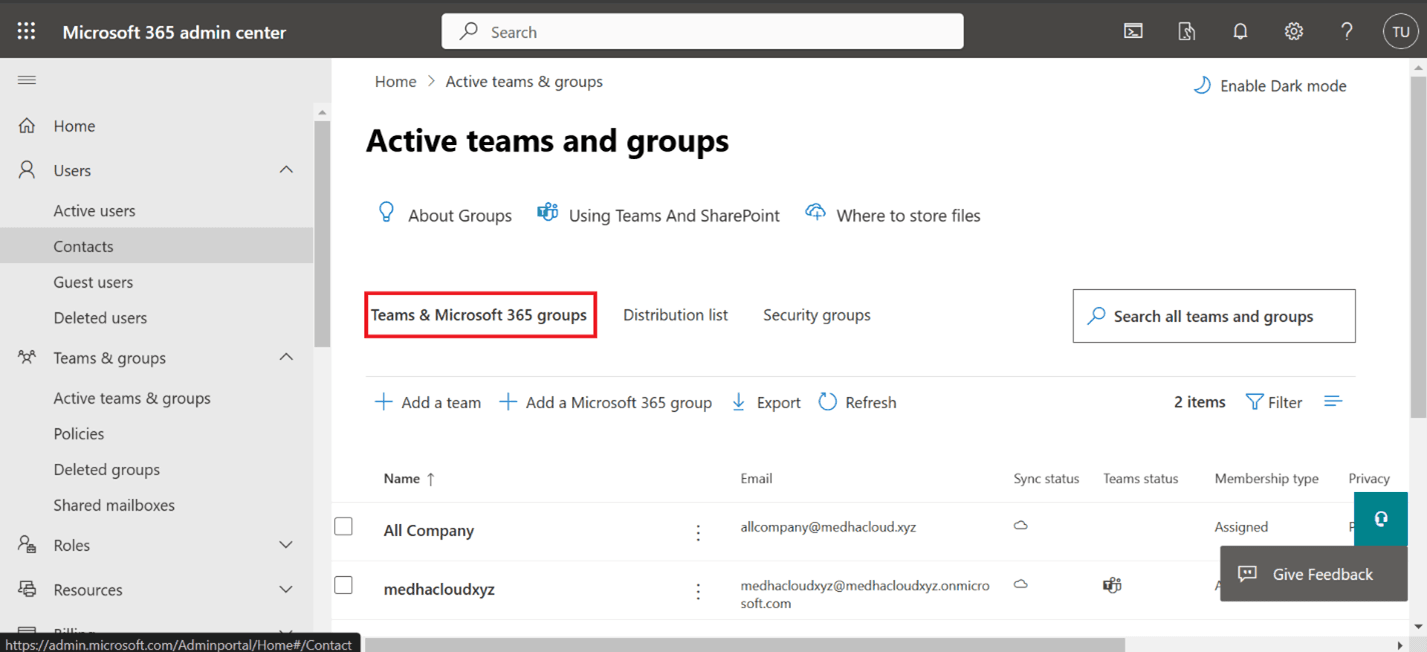
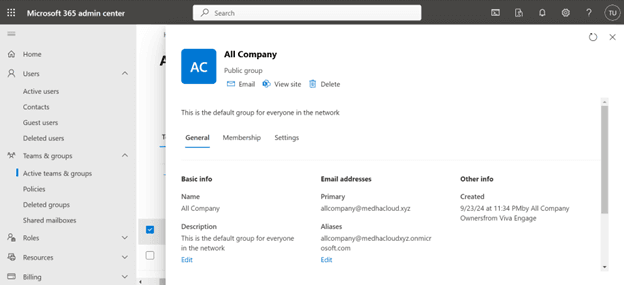
Step 4: Select the Microsoft 365 Group
From the list of active groups, locate and select the Microsoft 365 Group to which you want to add members. This will open the group’s settings page.
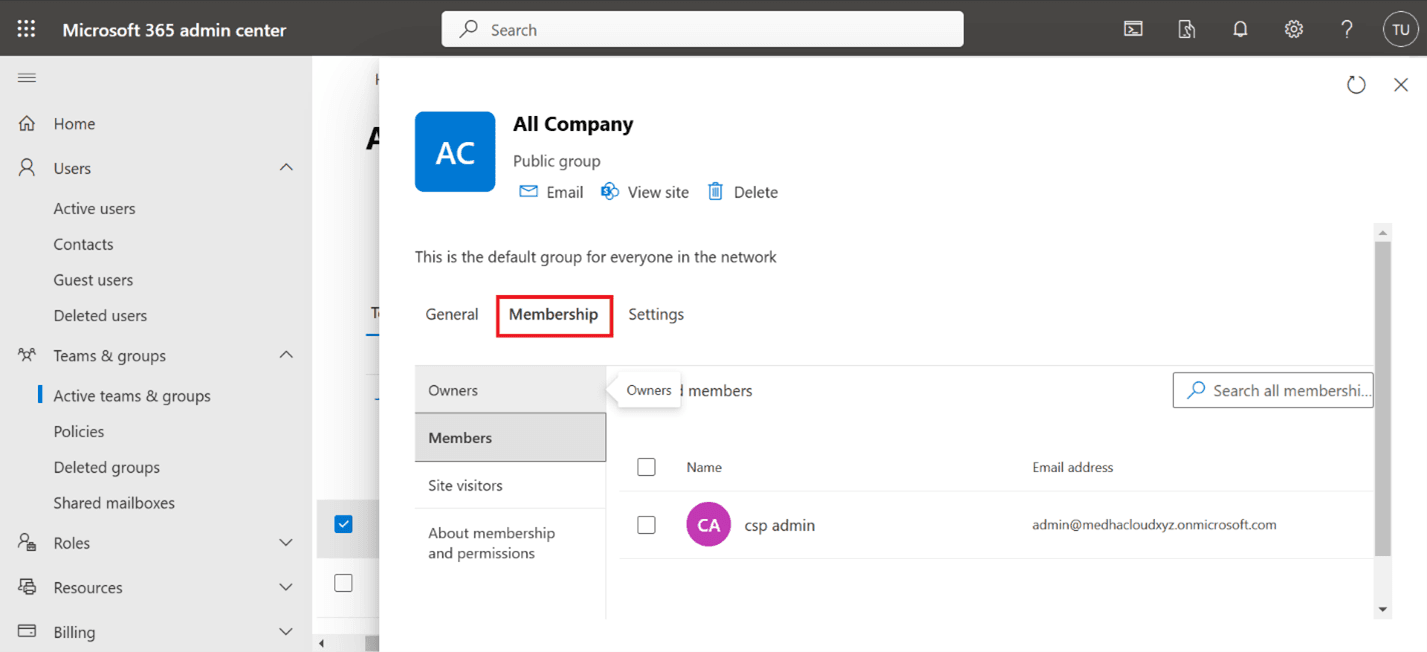
Step 5: Go to the Members Tab
In the group’s settings, click on the Members tab. This is where you can view current members and add new ones.
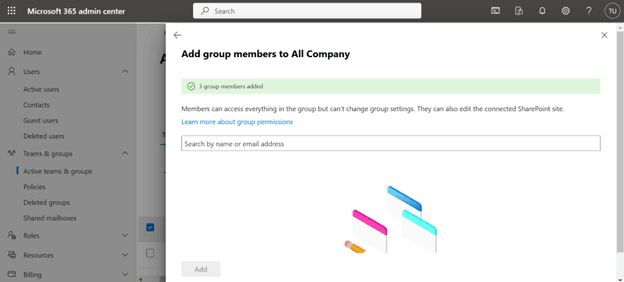
Step 6: Add New Members
Click the Add members button. A search field will appear, allowing you to find and select the users you want to add to the group.
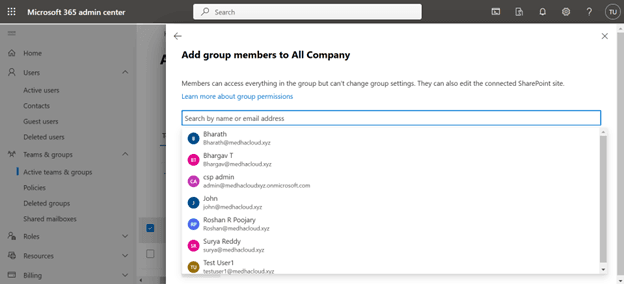
Step 7: Select Users to Add
Type the names or email addresses of the users you wish to add to the group in the search field. Once you find the correct users, select their names and click Add to include them in the group.
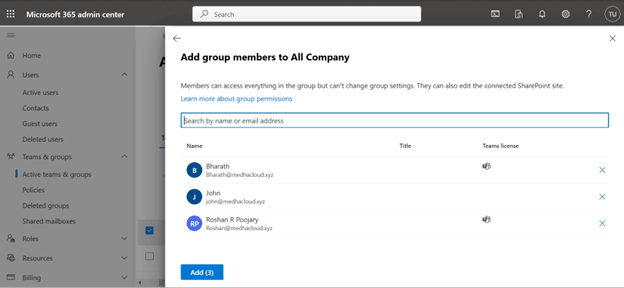
Step 8: Save the Changes
After selecting the new members, click Save to apply the changes. The new members will now have access to the shared resources associated with the Microsoft 365 Group
Step 9: Verify the Membership (Optional)
To ensure the new members have been added successfully, go back to the Members tab in the group’s settings and check that the new users appear in the list.
By following these steps, you can easily add members to a Microsoft 365 Group, granting them access to the group's resources like shared files, email, and collaboration tools.
For more assistance with managing Microsoft 365 Groups or other Microsoft 365 features, contact MedhaCloud. Our team is available to help you optimize your Microsoft 365 environment.
Compare Microsoft 365 plans and find the right license for your organization.
Microsoft 365 Licensing OptionsTopics
Bharath Kumar
Senior Microsoft 365 Consultant • 8+ years
Bharath is a Senior Microsoft 365 Consultant specializing in enterprise productivity solutions and white-label IT services. He has successfully deployed Microsoft 365 for over 200 organizations and helps MSPs build scalable white-label partnerships.
More in Microsoft 365
View all
Microsoft 365 Outage History: Every Major Incident 2020–2026
18 min read
Microsoft Teams Statistics 2026: Users, Revenue & Market Share
18 min read

Microsoft Copilot Adoption Statistics 2026: Users & Growth
18 min read

Windows Market Share 2026: Windows 11 vs Windows 10 Adoption
17 min read

Microsoft Copilot Free — What You Get, Limits & Every Way to Use It (2026)
7 min read
What Is Microsoft Copilot? Free vs Pro vs Microsoft 365 Copilot Explained (2026)
9 min read