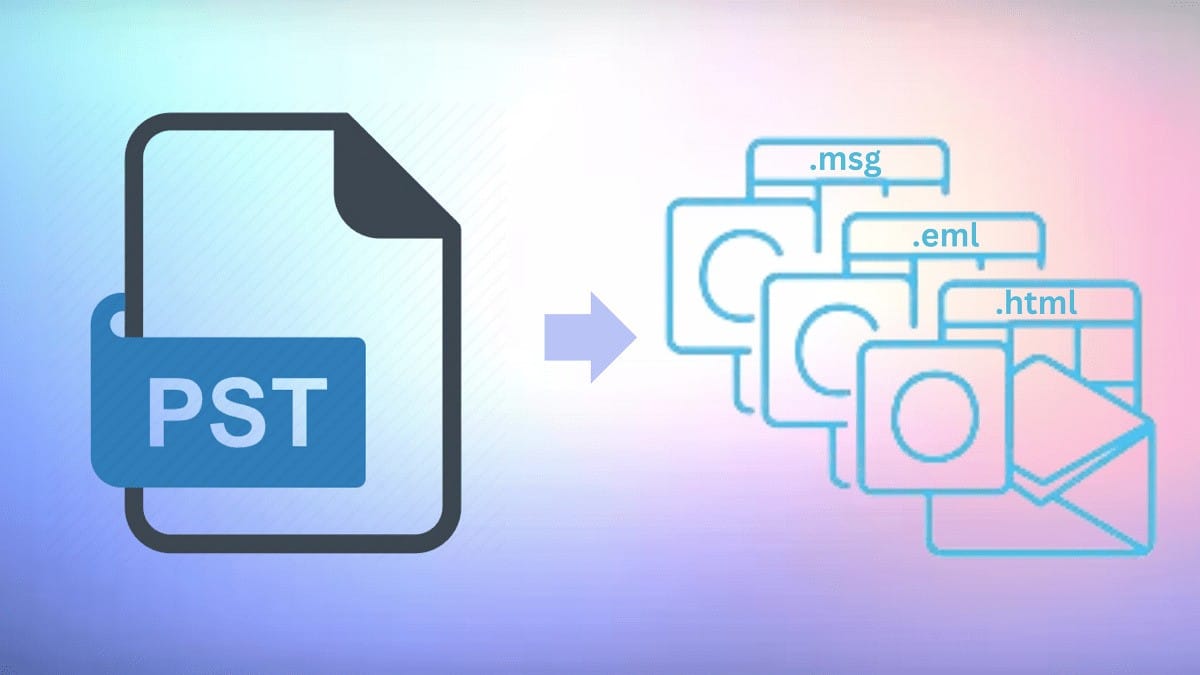
How to Import PST Files into Microsoft 365


Importing PST (Personal Storage Table) files into Microsoft 365 is essential for organizations transitioning to Exchange Online. This process ensures that historical email data is migrated seamlessly, providing employees with uninterrupted access to their emails, contacts, and calendars. This article provides a comprehensive guide to importing PST files into Office 365, detailing each step for both small organizations and larger enterprises.
Why Import PST Files to Microsoft 365?
Switching to Microsoft 365 offers numerous benefits, such as enhanced scalability, security, and integration with other Microsoft services. Importing PST files ensures:
- Data Continuity: Employees retain access to historical email data during the transition.
- Centralized Management: Email data is consolidated within Microsoft’s ecosystem.
- Compliance and Security: Emails benefit from Exchange Online’s advanced security features.
Steps to Import PST Files into Microsoft 365
1. Prepare the PST Files
Before starting the migration, ensure the PST files are ready:
- Export PST files from the source mailboxes using Outlook.
- Organize the files in a secure location, such as a file server or external drive.
- Verify the integrity of the PST files to avoid errors during the import process.
2. Assign the Mailbox Import Export Role
Microsoft 365 requires specific permissions to perform PST imports:
- Log in to the Microsoft Purview Compliance Portal.
- Navigate to Permissions.
- Assign the Mailbox Import Export role to the administrator or user handling the import.
3. Access the Microsoft 365 Import Service
The Microsoft 365 Import Service provides two options for importing PST files:
- Network Upload: Upload PST files to Microsoft’s Azure Storage.
- Drive Shipping: Ship a physical drive containing PST files to Microsoft.
4. Upload PST Files Using Network Upload
For most organizations, Network Upload is the preferred method:
- Download and install the Azure AzCopy Tool from Microsoft’s official website.
- Use the SAS (Shared Access Signature) URL provided in the Import Service to upload PST files to Microsoft’s Azure Storage.
- Verify the upload process to ensure all files are successfully transferred.
5. Prepare the CSV Mapping File
To map each PST file to its corresponding mailbox in Microsoft 365:
- Download the CSV template from the Import Service.
- Fill in the required details, including:
- File path of the PST.
- Target mailbox address.
- Optional import settings (e.g., filter by date range).
6. Create and Start the Import Job
Once the PST files are uploaded:
- In the Import Service, create a new import job.
- Upload the completed CSV mapping file.
- Review the import settings and start the job.
- Monitor the progress through the Import Jobs section.
7. Verify the Imported Data
After the import is complete:
- Log in to the target mailboxes to ensure the PST data has been imported correctly.
- Verify emails, contacts, and calendars for completeness.
Additional Considerations
Small Organizations
For smaller organizations with fewer mailboxes, manual imports may be more practical:
- Export PST files using Outlook.
- Import them directly into the respective mailboxes using Outlook’s import feature.
- Update DNS records to route emails to Microsoft 365 after the migration is complete.
Large Organizations
For enterprises with a large number of mailboxes, automated tools or professional services may be necessary to streamline the process. Microsoft’s Import Service supports bulk imports efficiently.
Common Challenges and Solutions
- File Size Limitations: Split large PST files if they exceed upload limits.
- Permission Errors: Ensure the Mailbox Import Export role is correctly assigned.
- Data Integrity Issues: Use tools like ScanPST to repair corrupt PST files before importing.
- Slow Upload Speeds: Use a high-speed connection and optimize the AzCopy command for large-scale uploads.
Why Choose Microsoft 365 for Email Management?
Switching to Microsoft 365 provides a robust platform for email management with benefits such as:
- Enhanced Security: Exchange Online Protection safeguards against threats like spam and malware.
- Integrated Tools: Seamless integration with Microsoft Teams, SharePoint, and OneDrive.
- Scalability: Flexible solutions for businesses of all sizes.
Final Thoughts
Importing PST files into Microsoft 365 ensures a smooth transition to Exchange Online, maintaining access to historical email data while benefiting from Microsoft’s secure and scalable platform. By following the steps outlined in this guide, organizations can complete the process efficiently with minimal disruption.
Get Professional Assistance with Medha Cloud
Need help with your Microsoft 365 migration? Medha Cloud provides expert services to simplify the process, ensuring a seamless transition to Exchange Online. Contact us today to get started!
Reach us at:
- India: +91 93536 44646
- US: +1 646 775 2855
- Website: medhacloud.com
- Email: info@medhacloud.com

Sreenivasa Reddy G
Founder & CEO • 15+ years
Sreenivasa Reddy is the Founder and CEO of Medha Cloud, recognized as "Startup of the Year 2024" by The CEO Magazine. With over 15 years of experience in cloud infrastructure and IT services, he leads the company's vision to deliver enterprise-grade cloud solutions to businesses worldwide.

