Hi,
We know the importance of setting a firewall on our server, that’s why you decided to read this blog - install and configure CSF on CentOS.
In fact, most of the website owners are overlooking its efficacy or getting too late to know its importance.
Luckily, you have not one of them, thank god.
Regardless of the server that you are using, whether it is a VPS or the Dedicated server, you have to configure the firewall.
Let’s see some amazing benefits that CSF holds for us.
As one of the best impressive and promising firewall configuration scripts, CSF helps to prevent the DoS attacks, it covers the entire premises of our server and detects malicious trespassers and programs in an uncompromisable way. Also, it will take in charge of monitoring all the visitors of our websites as well.
Let's check how to configure CSF on CentOS.
Config Server Firewall or CSF is an advanced firewall for most Linux distributions and Linux based VPS for free.
CSF is a firewall configuration script developed to provide improved security for servers.
TO start the process of installing CSF on CentOS there are some requirements
1.Dedicated or VPS server
2. Root Acess of the server
3. An SSH client
4. Internet Connection
First, we will install particular dependencies. And for CSF is based on Perl, we need to install Perl.
yum install wget vim perl-libwww-perl.noarch perl-Time-HiRes
cd /usr/src/
wget https://download.configserver.com/csf.tgz
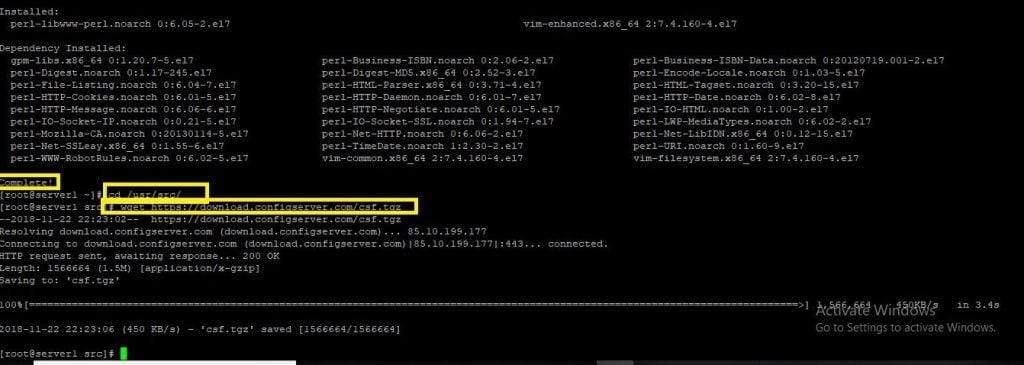
after successful download, we will extract the content by the following command
tar -xzf csf.tgz
Then, go to csf directory and install it.
cd csf
sh install.sh
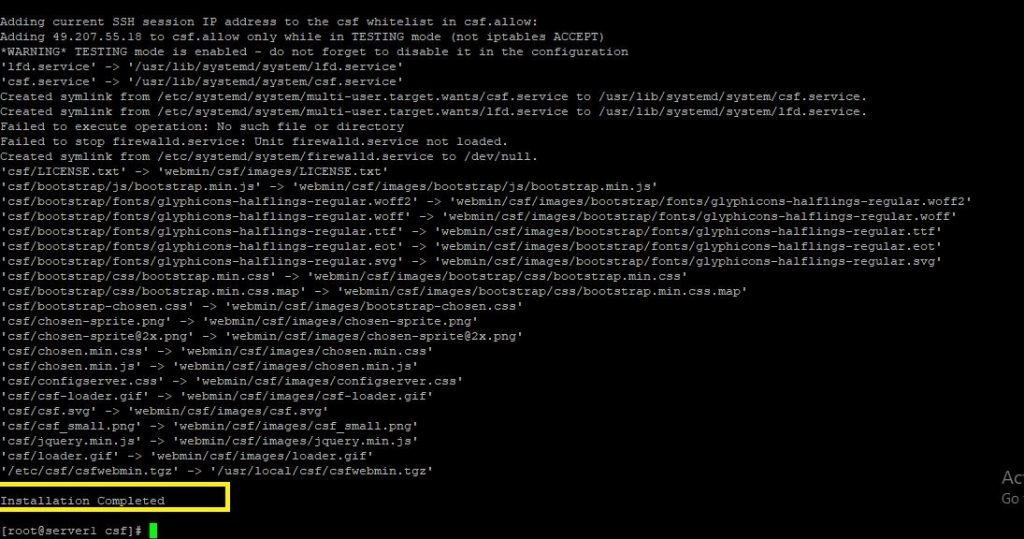
Once the installation is completed, check the server,
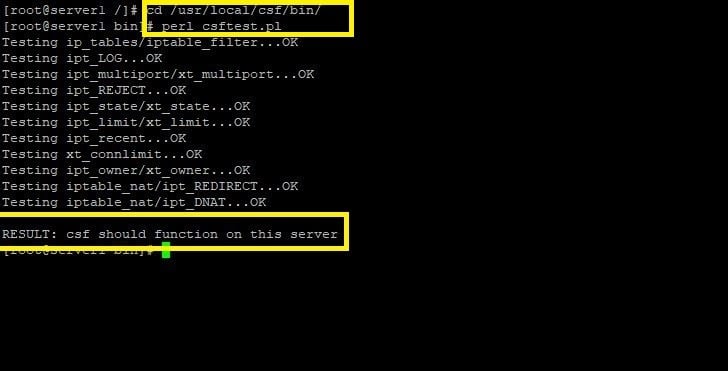
If you can find that the csf is Working or not, then go to the
Go to “/usr/local/csf/bin/” directory and run perl csftest.pl
cd /usr/local/csf/bin/
perl csftest.pl
systemctl disable firewalld
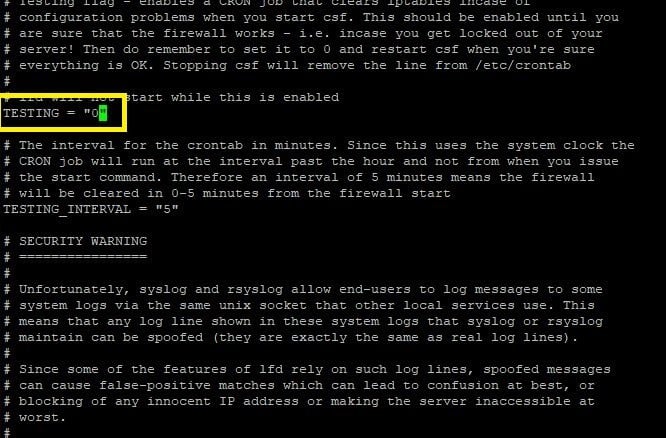
After disabling default firewall then go to the CSF configuration directory “/etc/csf/” And edit the “csf.conf” with the vi editor
cd /etc/csf/
vi csf.conf
Then open configure file and change the TESTING line from the value 1 to 0
TESTING = "0"
By default CSF permits incoming and outgoing traffic for the SSH standard port 22, if you use another SSH port, please add your port to the configuration in line 139 "TCP_IN"
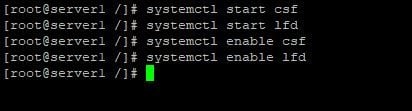
Now start the CSF and LFD services
systemctl start csf
systemctl start lfd
Now enable both the services
systemctl enable csf
systemctl enable lfd
Step 4: Basics of CSF
If You want to see the rules run the following command
If you wish to see the default rules run the below command
csf -l
If you want to restart CSF then run the following command
csf -r
If you want to allow the IP then run the following command
csf -a xx.xx.xx.xx

If you want to remove and delete An IP from csf.allow, run the following command
csf -ar xx.xx.xx.xx

Denying an ip and adding it to csf.deny.
csf -d xx.xx.xx.xx

Remove all entries in csf.deny.
csf -df

Then go back to csf configuration file
cd /etc/csf/
vi csf.conf
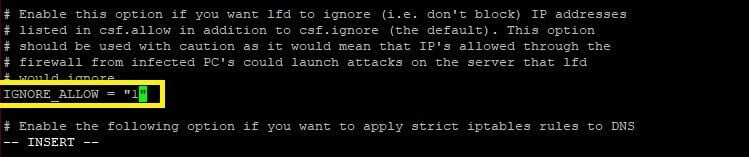
Never Block IP addresses in the csf.allow files.
lfd will block an IP under csf.allow files by default, so if you want an IP in csf.allow files never get blocked by lfd, please go to the line 272 and change "IGNORE_ALLOW" to "1".
This is suitable when you have a static IP at home or in office and want to guarantee that your IP never gets blocked by the firewall on your internet server.
IGNORE_ALLOW = "1"
Allow Incoming and Outgoing ICMP.
ICMP_IN = "1"
ICMP_OUT = "1"
Blocking or allowing only certain countries from connecting to your server by free and keying the country code in CC_DENY or CC_ALLOW.
CC_DENY = "MY,DE,US"
CC_ALLOW = "IN,CN,UK"

For sending the Su and SSH Login log by Email.
You can enter an email address that is using by LFD to communicate about "SSH Login" events and users that operates the "su" command, go to the line 1069 and change the value to "1".
LF_SSH_EMAIL_ALERT = "1"
...
LF_SU_EMAIL_ALERT = "1"
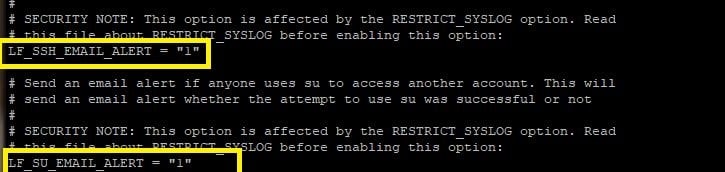
And outline the email address you want to use in line 588.
LF_ALERT_TO = your mail
CSF is a feature-rich firewall application, if configured right it will do excellent to protect your server, we will be able to keep accurate, real-time and reliable control of everything that happens within CentOS, CSF has many features and can support web-based management tools like cPanel / WHM, DirectAdmin and Webmin.
So, hope you all understand how to configure CSF in your server and safeguard your business.
If you are thinking that these are perplexing and cannot sort out your confusions, reach @medhahosting sever support team, we’ll handle all your IT related worries intact.
Stay tuned,
See you soon with an amazing blog.. good day.